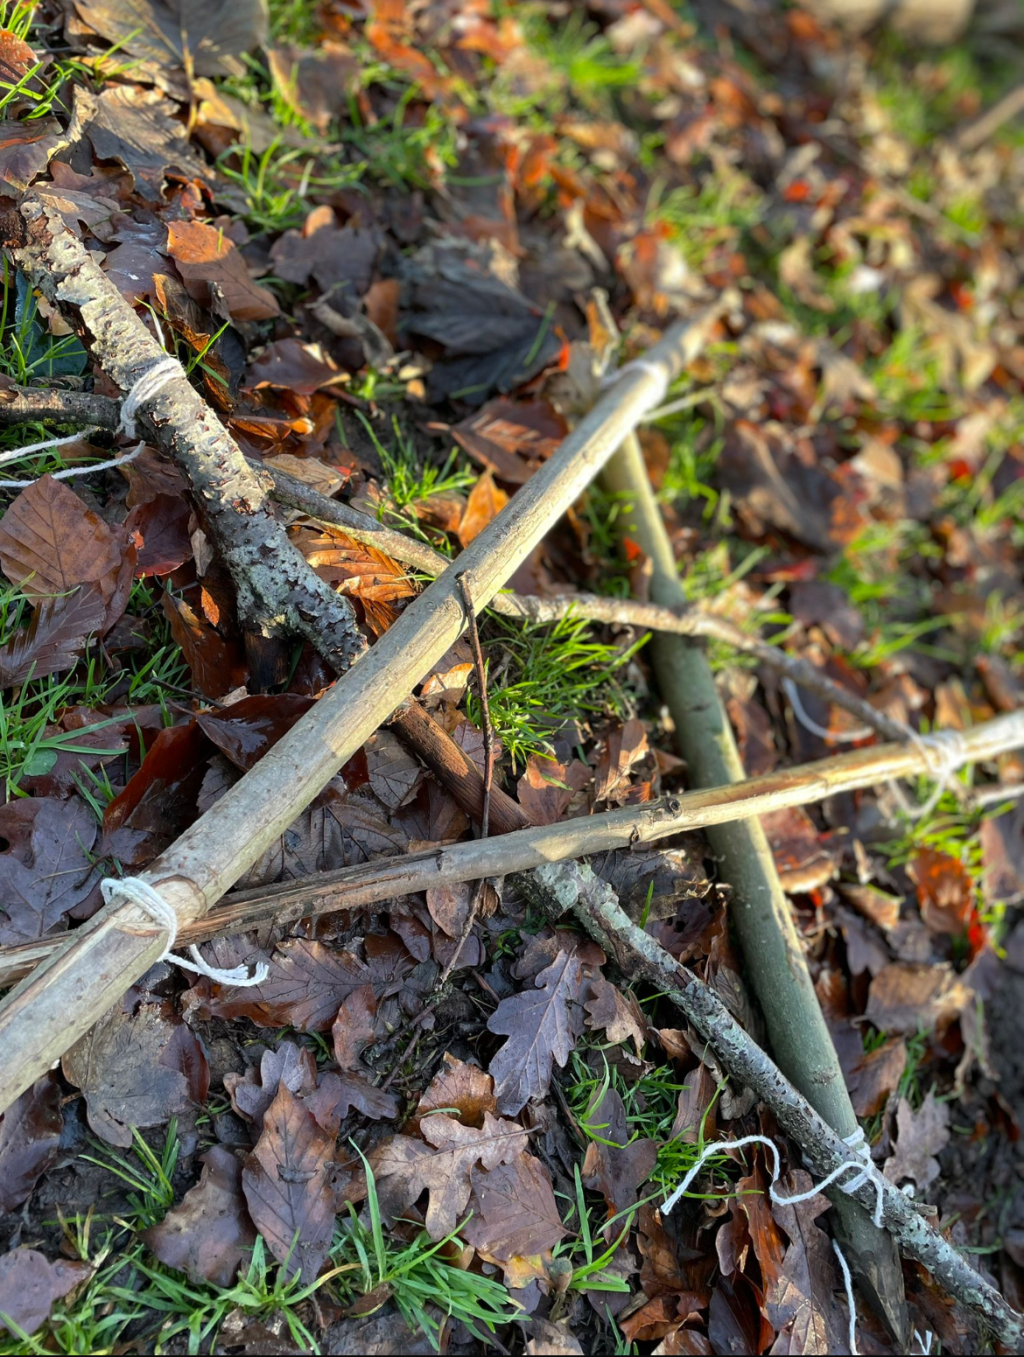
As part of my Forest School training, I have practised making a range of woodland crafts using natural materials. I enjoyed making each of these items as they all required different skills and techniques, and it gave me the confidence to use the tools safely and understand the process before teaching others. I feel it is important that I can confidently attempt each activity myself before introducing it to my students.
If I were teaching these activities to my students, I would begin with the simplest crafts that do not require tools before progressing to tasks involving tools. This would allow students to become familiar with working with natural materials, develop confidence and practise basic skills before moving on to more advanced techniques. As I work with young people with Special Educational Needs (SEN), I would demonstrate every stage clearly, use simple step-by-step instructions and adapt each step to meet individual needs. I would ensure all activities were risk assessed especially once we have progressed to using tools.
5 Point star – group activity
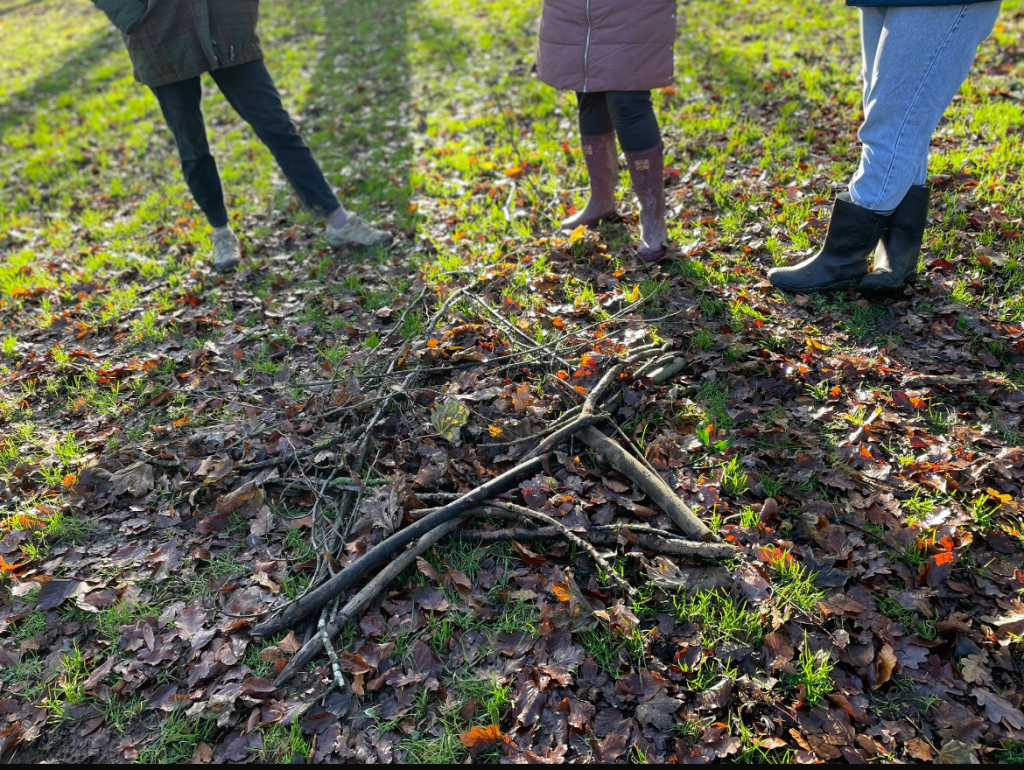
Materials: Sticks
This is a great activity to introduce first because it does not require any tools or additional resources. I would ask my students to explore the woodland and collect sticks of a similar length. The length of the sticks can be adapted depending on the age and ability of the students or the size of the finished star you would like them to create.
Once everyone has collected their sticks, I would bring the group back together and encourage them to work as a team to arrange the sticks into a five-pointed star. Rather than giving them the answer straight away, I would encourage discussion and problem-solving, giving students the opportunity to work together to decide where each stick should go.
This is a lovely introductory activity as it encourages communication, teamwork and turn-taking, while helping students become familiar with working with natural materials. It also provides a good opportunity for me to observe how students work together before introducing more challenging activities.
Picture Frame
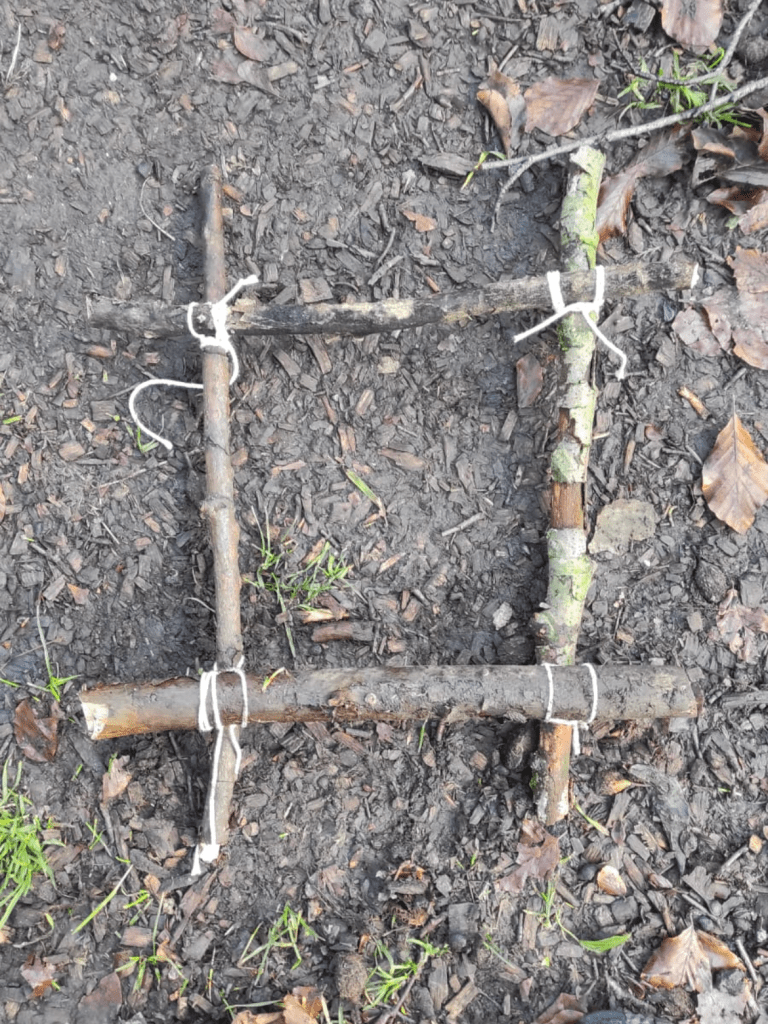
Materials: 4 straight sticks, string,
This item still does not require the use of tools (unless you use Loopers to cut the sticks to length) but it does introduce our students to using string. I would begin by demonstrating how to position the sticks before showing students how to complete each lashing. The frame requires two different knots, the clove hitch, and the square lashing. I would demonstrate one corner at a time, allowing students to copy each step before moving on.
Some students may need additional verbal prompts, visual examples or one-to-one support with tying knots. Once the frames were complete, I would encourage students to collect fallen natural materials to decorate them, reminding them to respect the woodland by only collecting items that had already fallen. They could also be used to frame a part of the woodland that they find particularly interesting.
5 point star
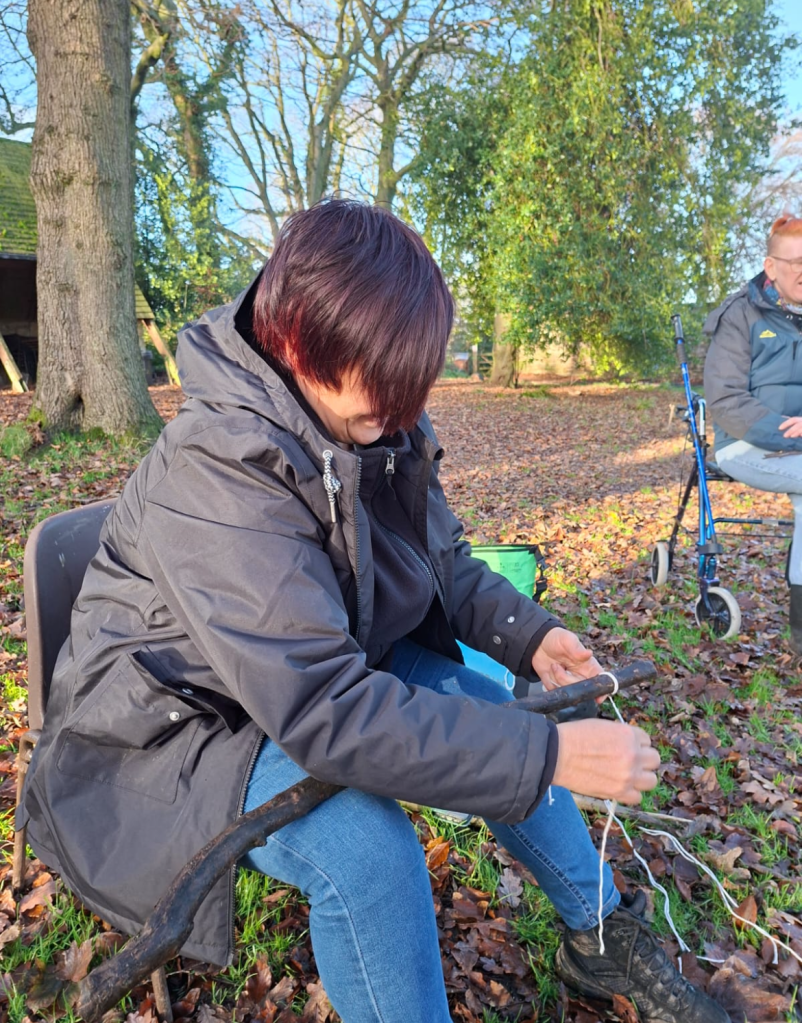
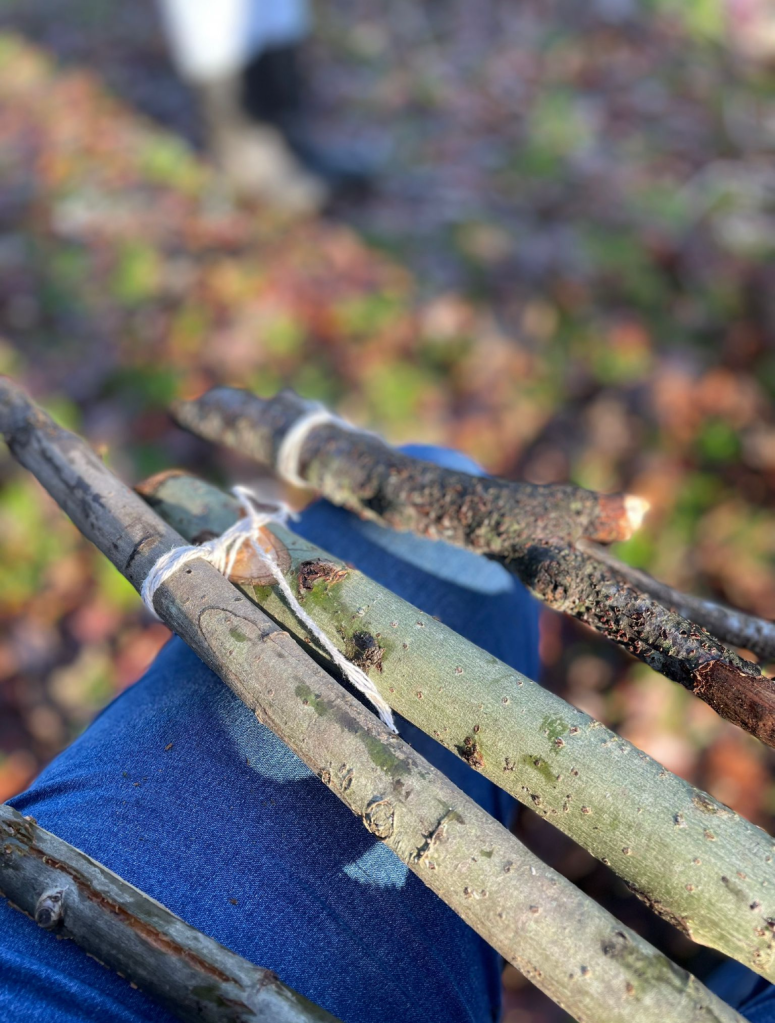
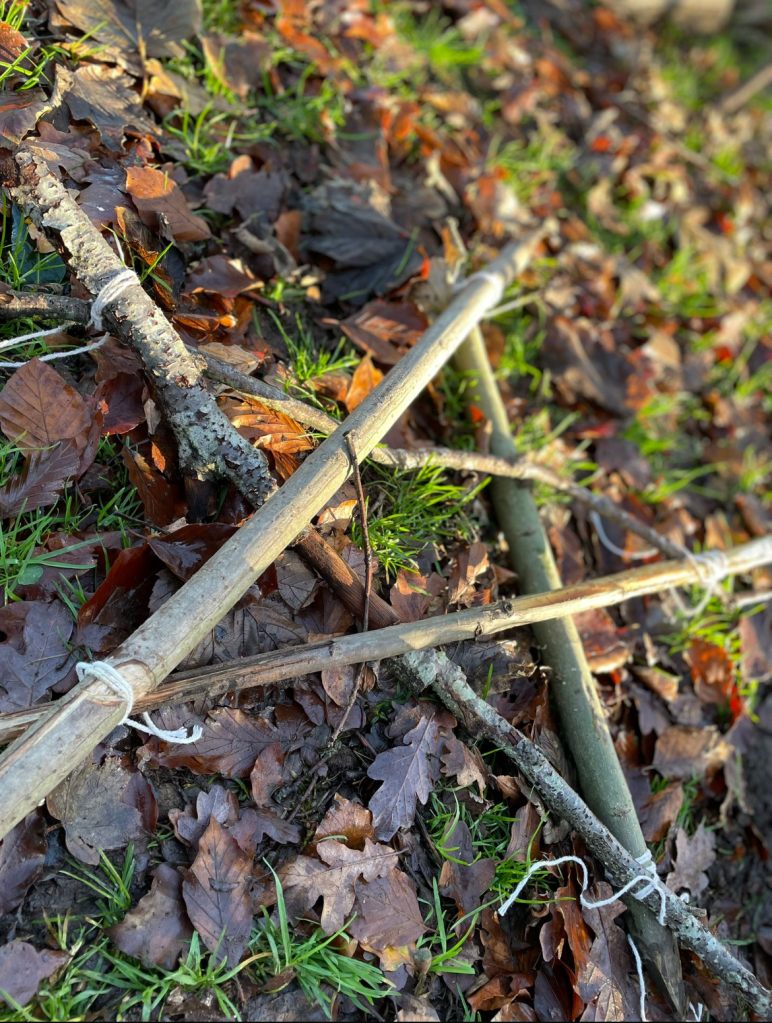
Materials: 5 straight sticks, string
Again, no tools needed yet, unless you are introducing Loopers to cut the sticks. I would demonstrate how to lay the sticks out first so students could clearly see the shape they were aiming to create. I would then demonstrate each lashing one at a time before allowing students to copy me. A clove hitch is used on the first stick. A sheer lashing is then used to bind the sticks together at each point.
Some students may find it easier to work with a completed example beside them, while others may enjoy working with a partner.
Wooden Tent Pegs
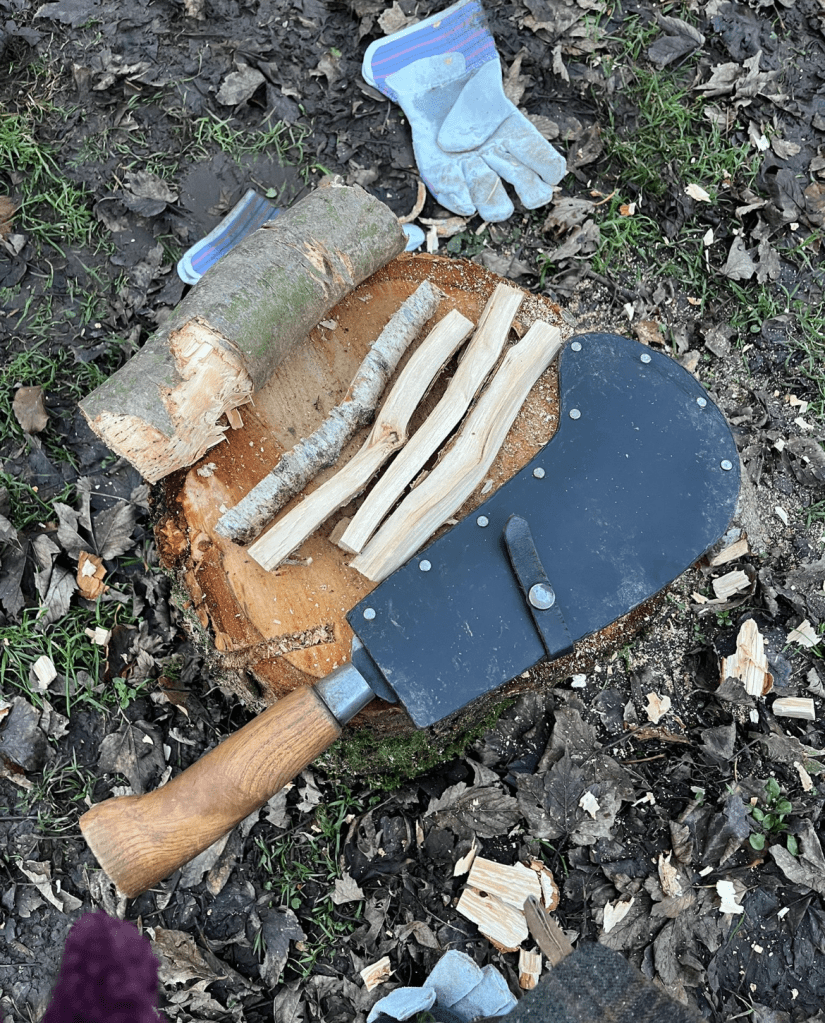
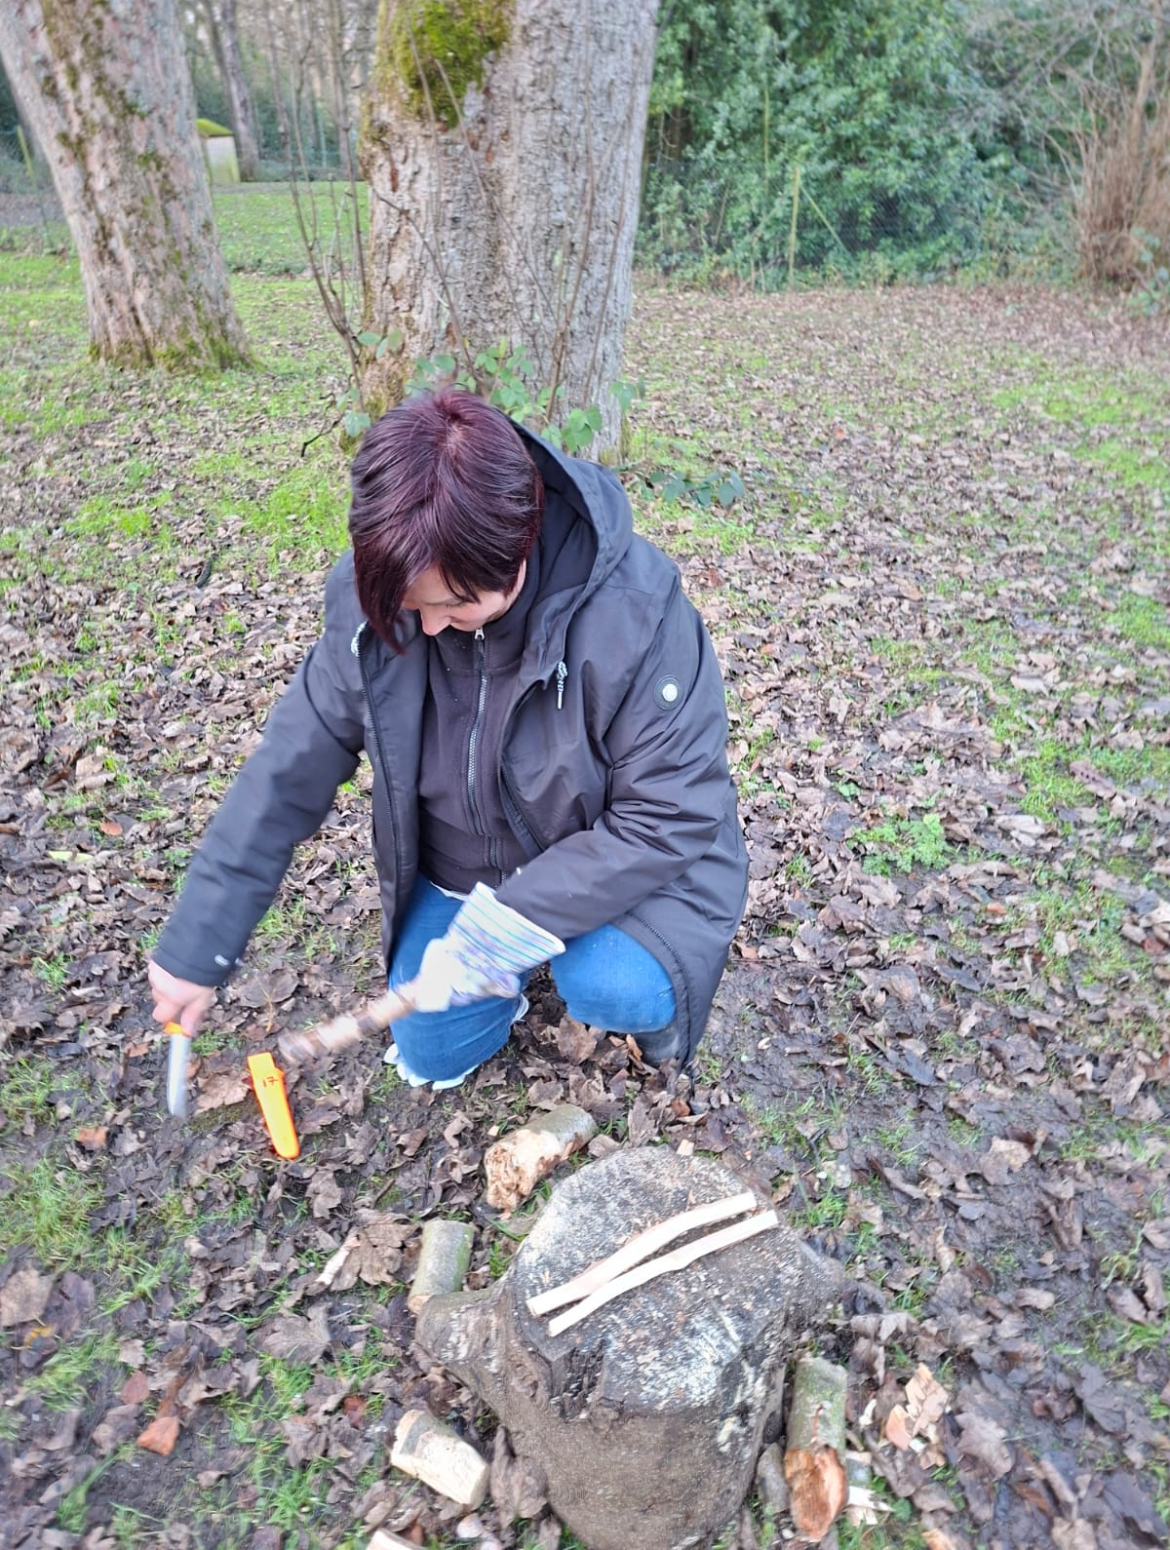
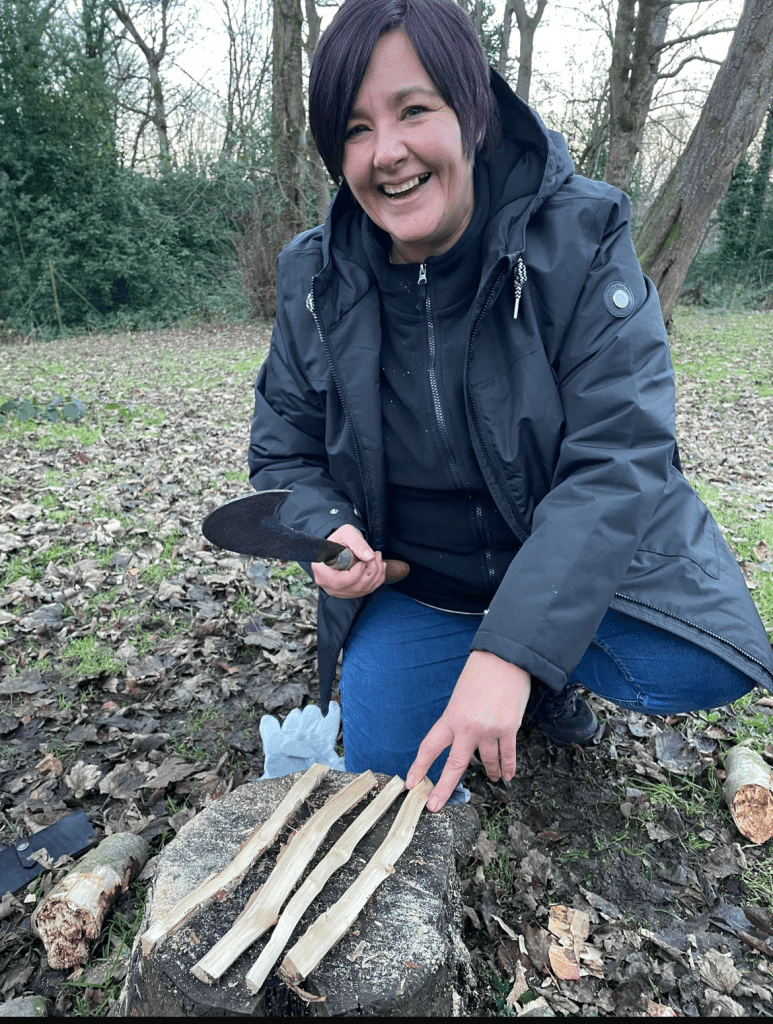
Materials: Wood x2 (adult arm thickness), Bow Saw, Billhock, Sheaf Knife
To make my wooden tent pegs, I first used a bow saw to cut two pieces of wood to the required length. I then used one piece of wood as a baton to safely tap the billhook through the other piece of wood, splitting it down and creating the basic shape of the peg.
Once I had the shape I wanted, I used my sheath knife to carefully sharpen one end into a point so that the peg could be pushed into the ground. I took my time when carving the point to ensure it was even and safe to use.
Wooden mallet
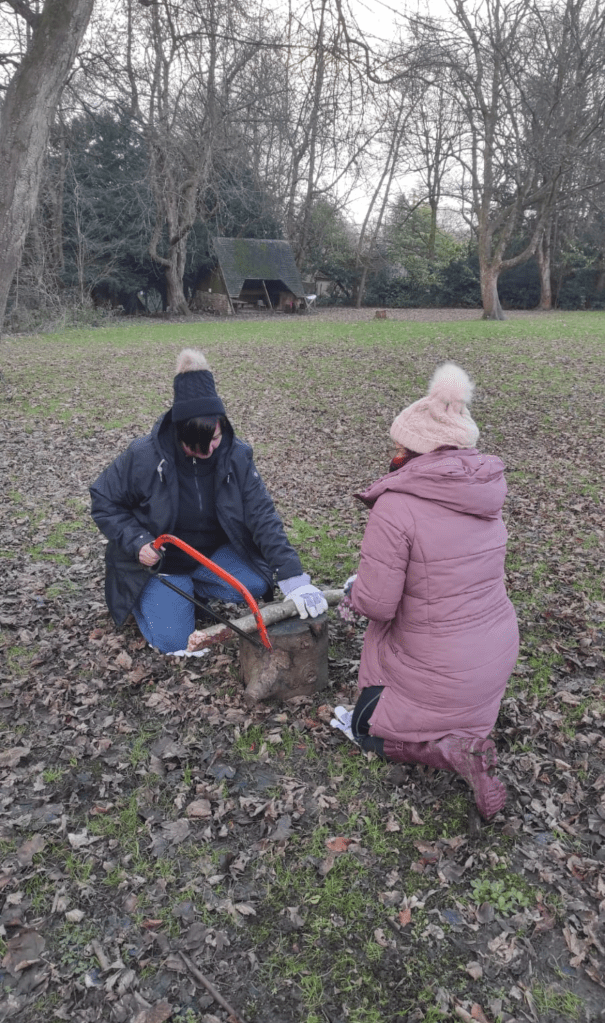
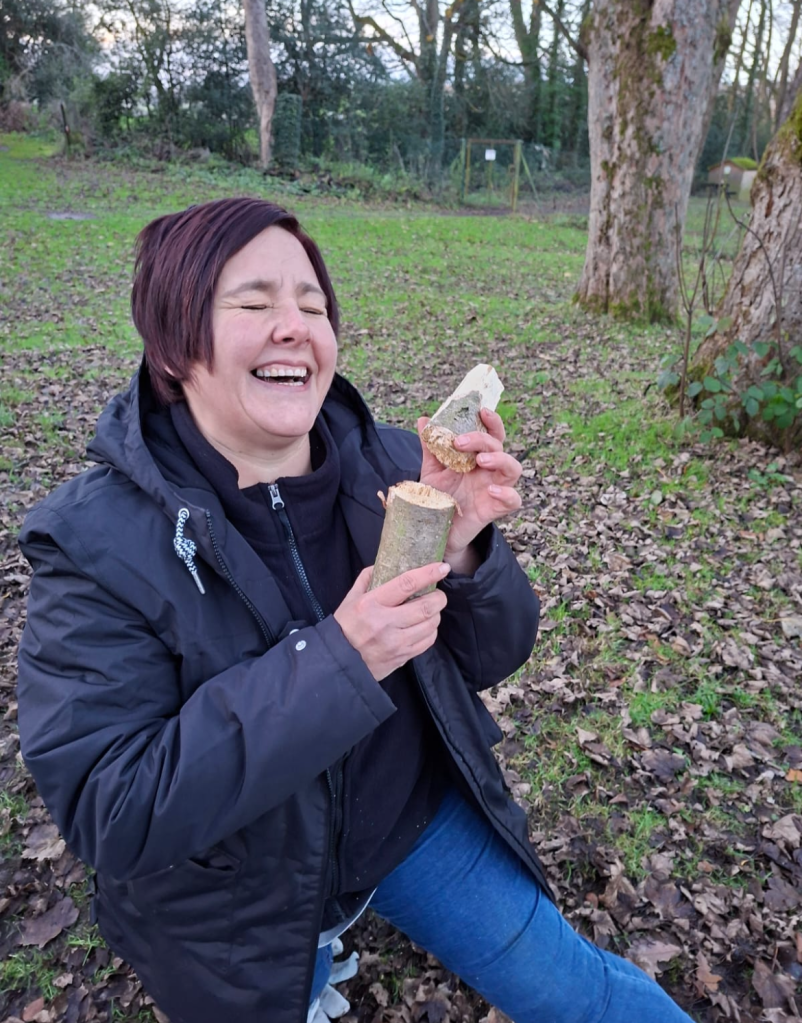

Materials: Wood, Billhock, Bow saw, Sheaf knife
I started with a piece of wood that was approximately the thickness of an adult’s arm. Using the bow saw, I carefully cut a groove all the way around the wood, cutting to roughly the depth of the saw blade. This groove acted as a guide for the next stage.
I then used the billhook to carefully split away the wood around the outside of the log. As I worked my way around, the wood naturally split along the groove I had created with the bow saw, gradually forming the handle of the mallet.
If my handle had not snapped off ……. I would have then used a sheath knife to smooth the handle and remove any rough edges, making it more comfortable to hold.
I really enjoyed creating all of the above and cannot wait to introduce them to my students when they are ready.
 Forest Footsteps
Leave a comment