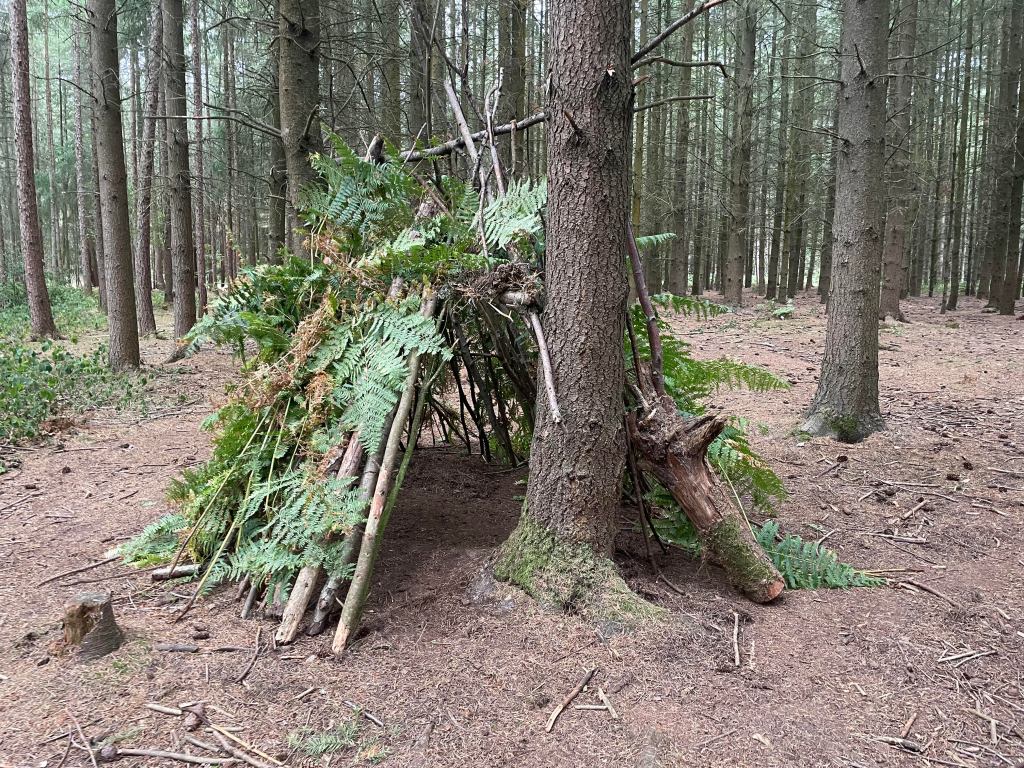
Temporary shelters are an important part of Forest School because they provide protection from the weather, create a comfortable learning environment and encourage students to work together, solve problems and develop practical woodland skills. Before any shelter is built, a suitable site should be chosen. The area should be level, well-drained and free from hazards such as dead or hanging branches, unstable trees, animal burrows and thorny vegetation. Living trees and plants should never be damaged, and only naturally fallen woodland materials should be collected.
Frame Shelter (A-Frame Shelter)
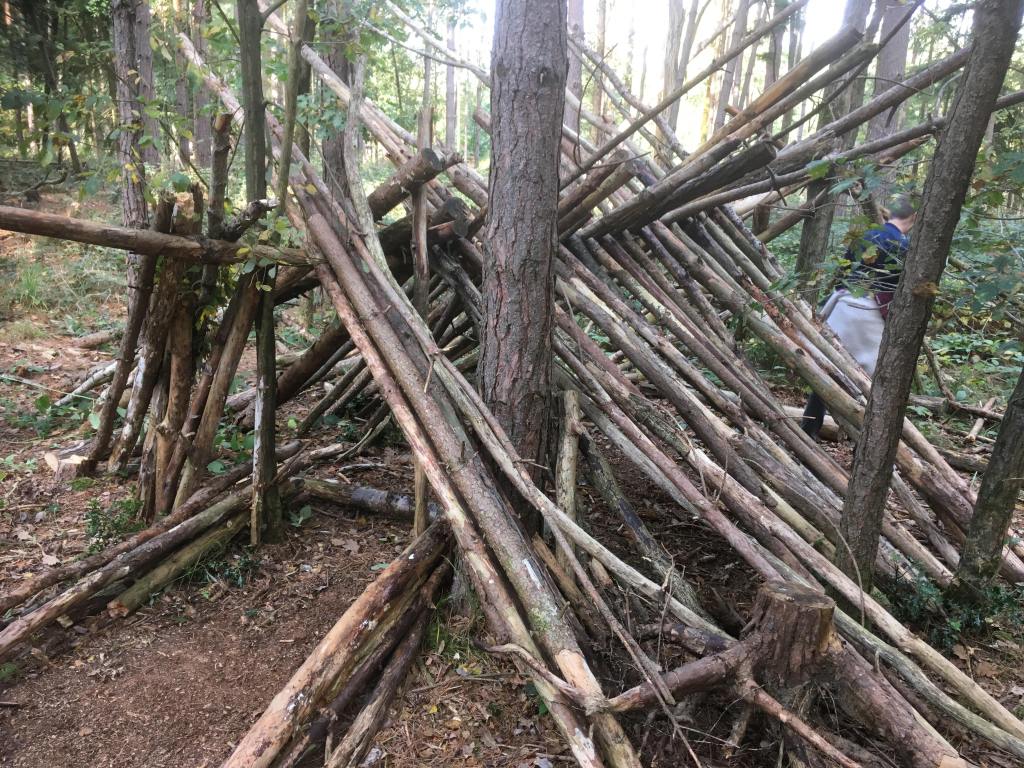
A frame shelter is one of the simplest temporary shelters to build. It provides protection from rain and wind while allowing enough space for one or two people to shelter underneath.
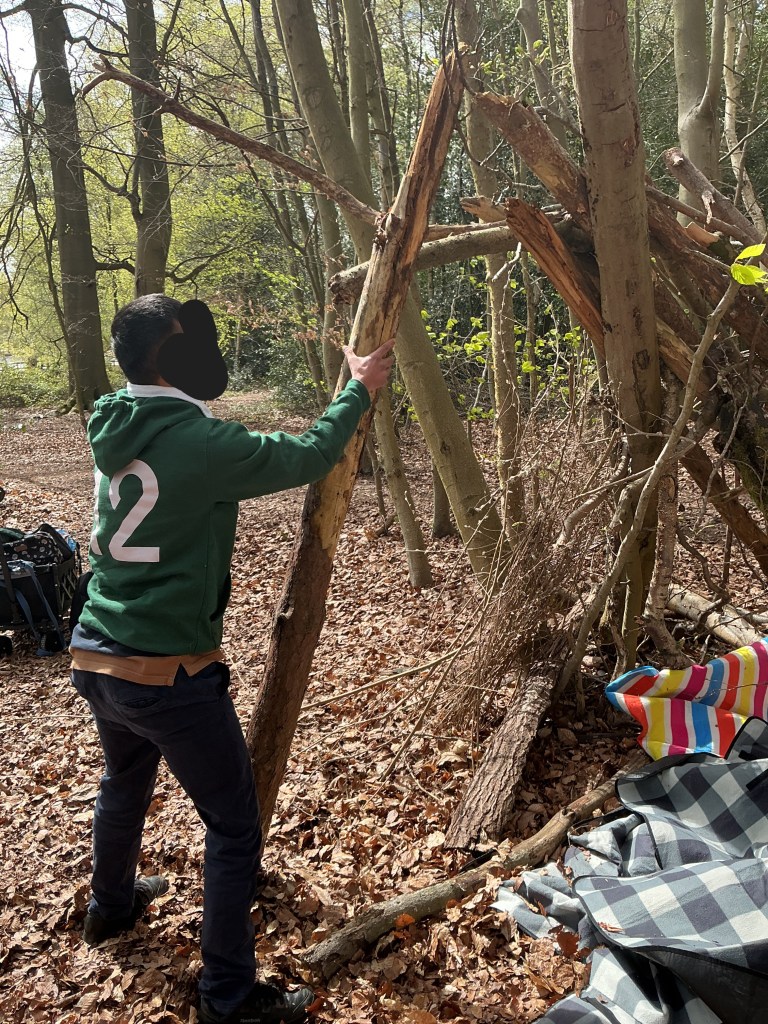
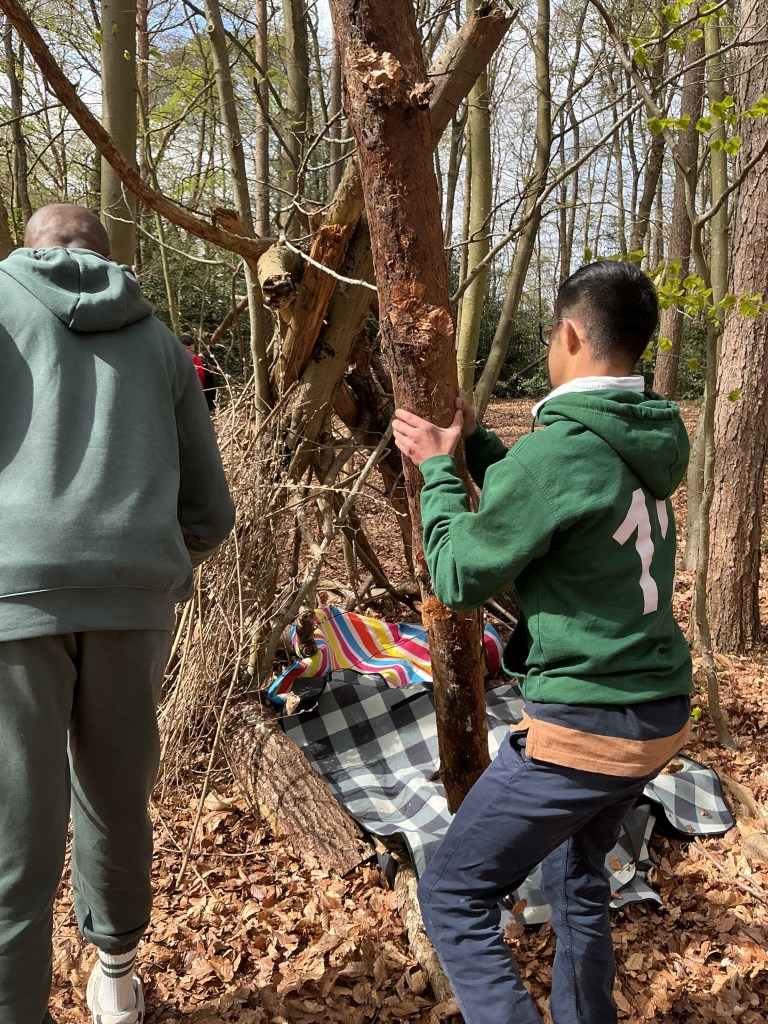
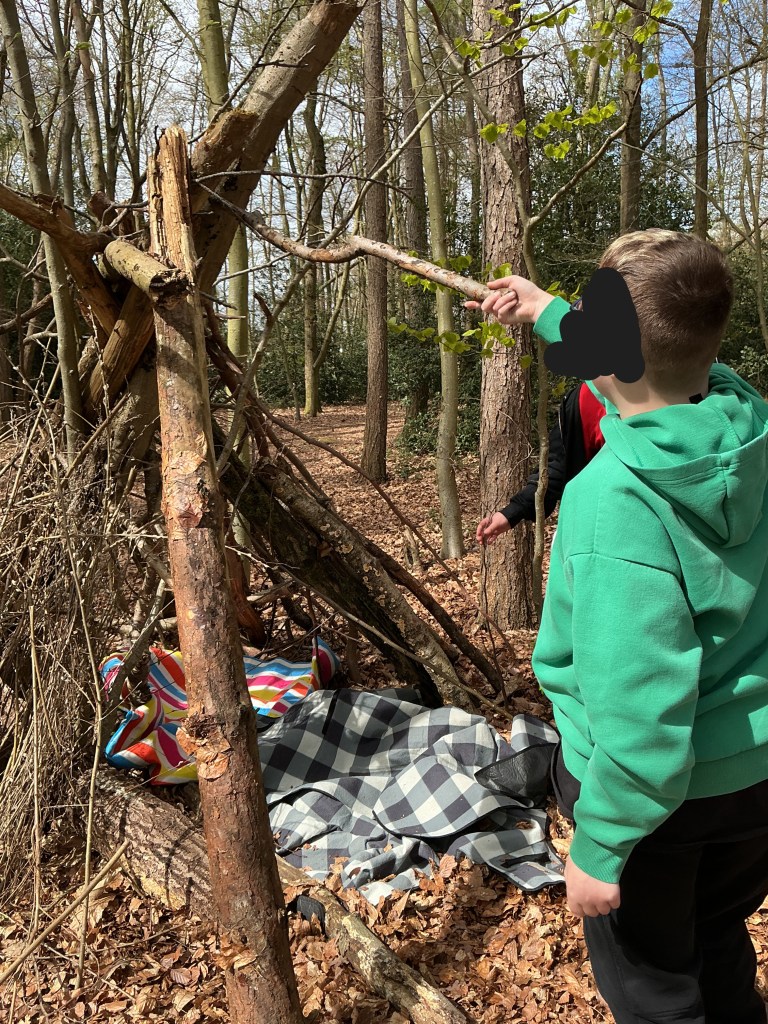
To construct an A-frame shelter, a strong ridge pole is first secured between two trees using rope and appropriate knots. Alternatively, a sturdy fallen branch can be used as the ridge pole. Long sticks are then leaned against both sides of the ridge pole to create the triangular “A” shape. These sticks should be placed close enough together to support the covering materials while remaining stable.
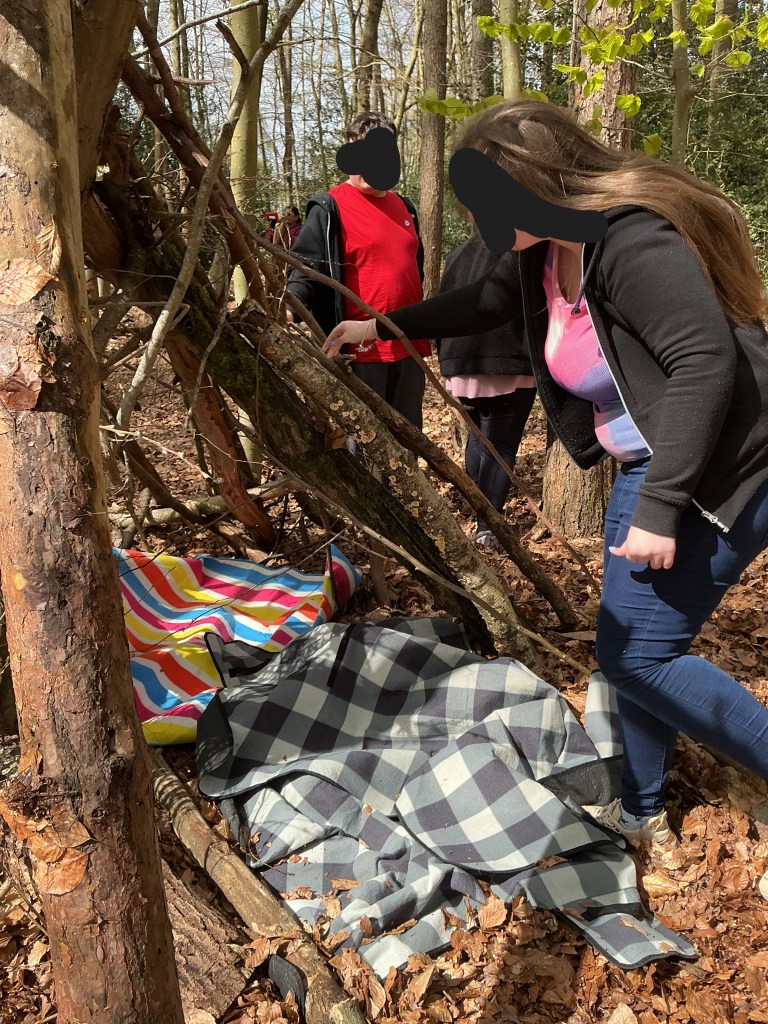
Once the frame has been built, natural woodland materials such as smaller fallen branches, bracken, ferns, leaves and grasses are layered over both sides of the frame. The materials should overlap from the bottom upwards, much like roof tiles, allowing rainwater to run off effectively. Leaf litter can also be placed inside the shelter to provide insulation from the cold, damp ground.
The A-frame shelter is stable, offers good weather protection from all directions and is an excellent introduction to shelter building for students. It encourages teamwork, communication and problem-solving as students work together to select suitable materials to build thier shelter.
Lean-to Shelter
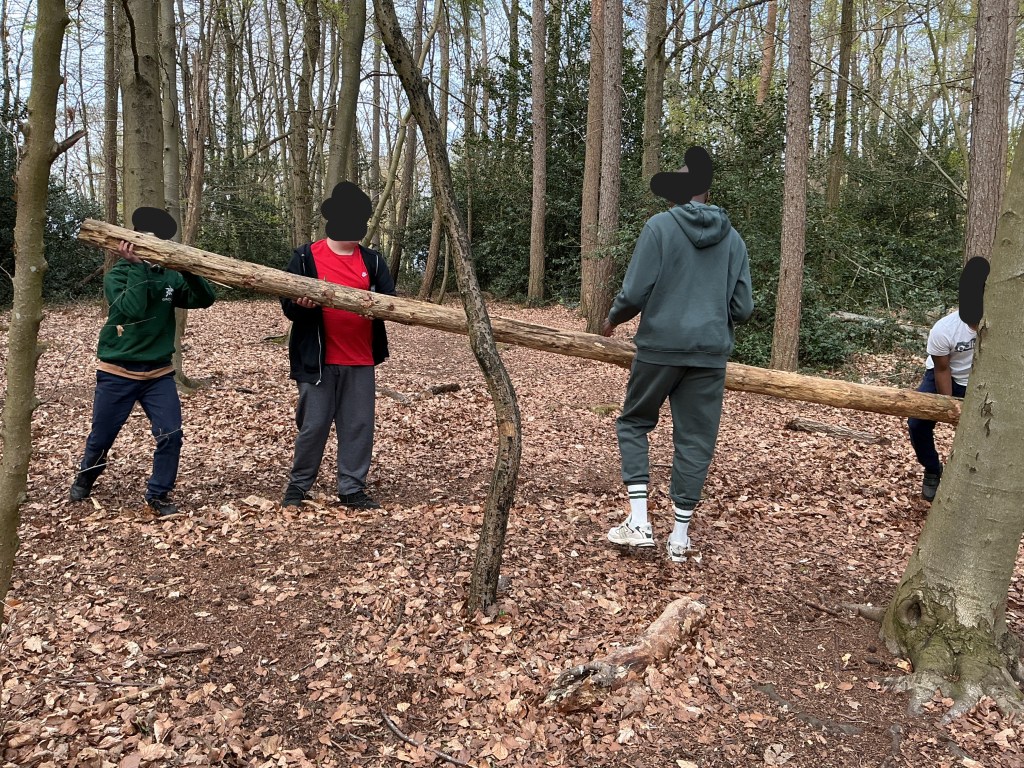
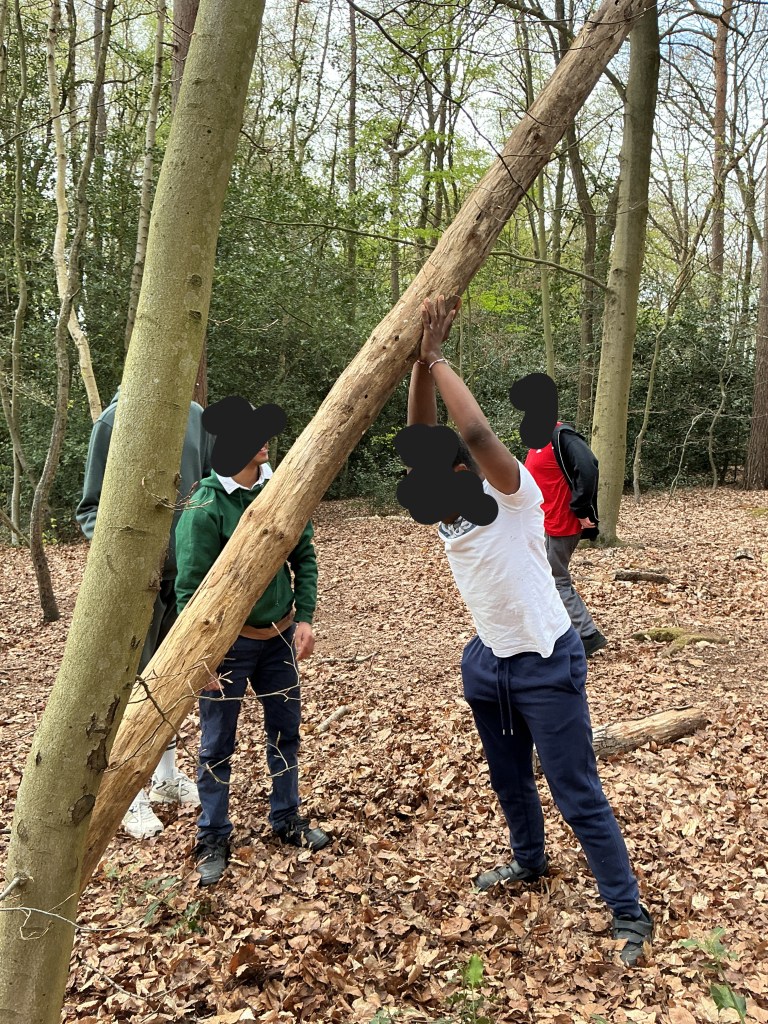
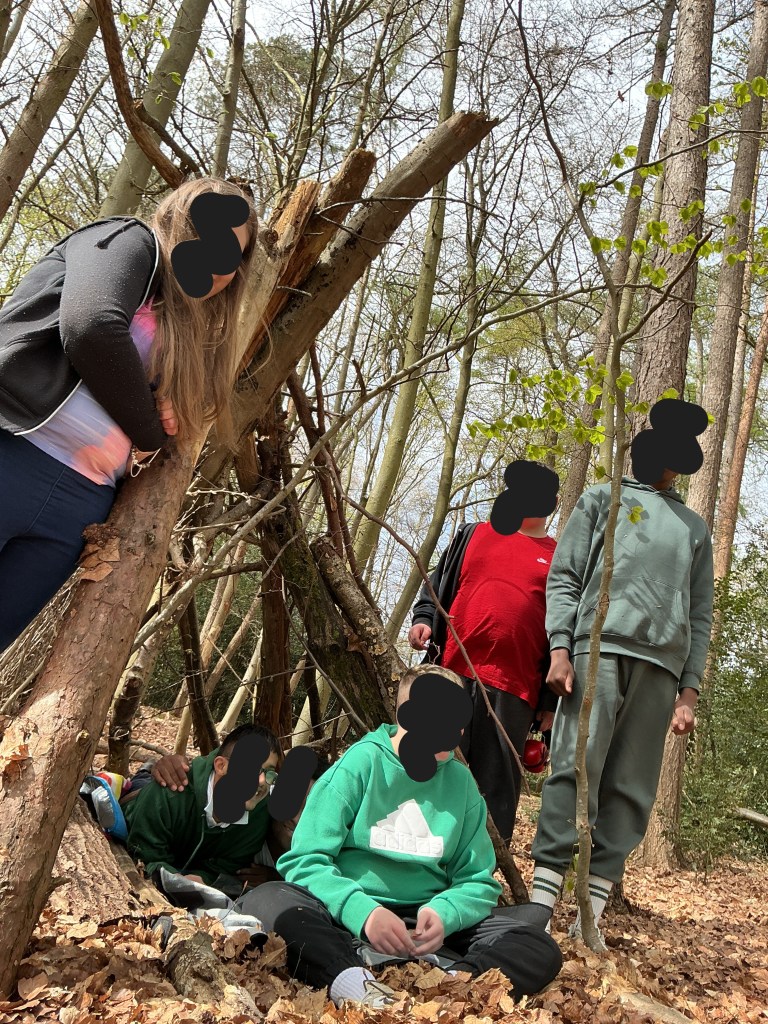
A lean-to shelter is another simple temporary shelter and is often quicker to build than an A-frame. To build a lean-to shelter, a ridge line is tied securely between two trees or a ridge pole is supported against a standing tree. Long poles are then leaned against one side of the ridge line at approximately a 45-degree angle to form a sloping roof. The poles should be positioned close together to create a strong framework.
Natural woodland materials, including fallen branches, leaves, bracken, grasses and ferns, are then layered over the frame, starting at the bottom and working upwards to create a waterproof covering. Additional leaf litter or dry vegetation can be placed on the ground beneath the shelter to improve comfort and insulation.
The open front of the lean-to allows easy access and provides a good viewing point for activities taking place around the campfire or woodland. If built with the back facing into the prevailing wind, it can provide effective protection from poor weather while remaining quick and efficient to construct.
Environmental Considerations
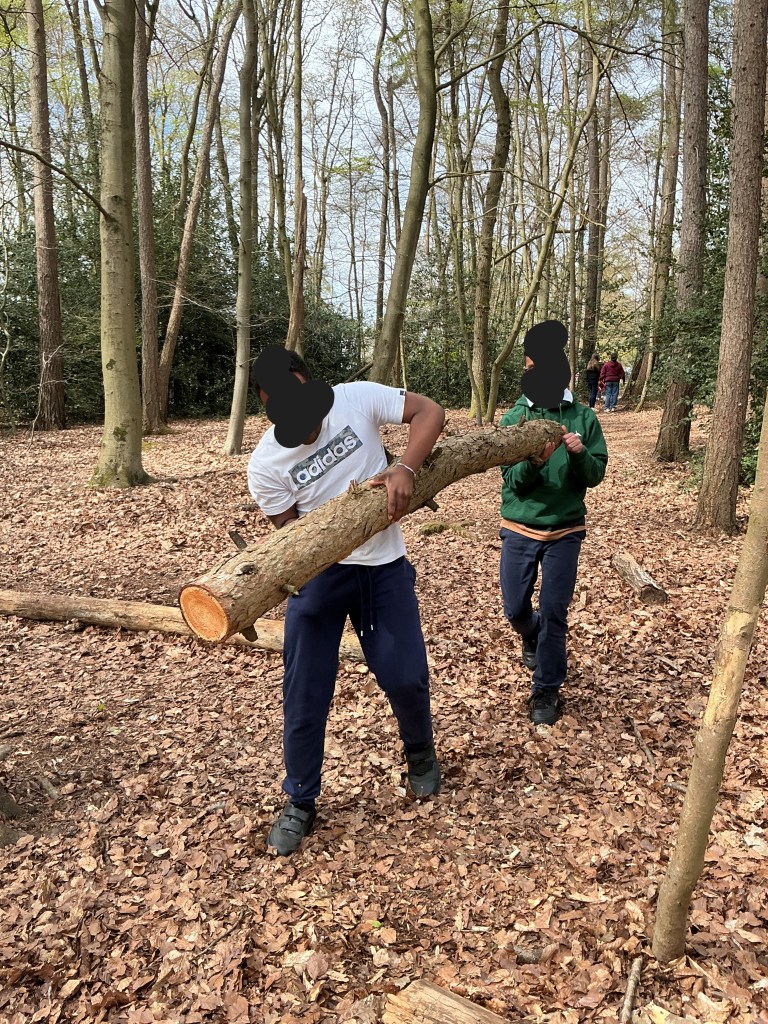
When building either shelter, students should only collect materials that have naturally fallen to the woodland floor. Materials should be gathered from different areas rather than stripping one location, helping to protect habitats for insects, birds and other wildlife. Living trees, branches and plants should never be cut or damaged unnecessarily.
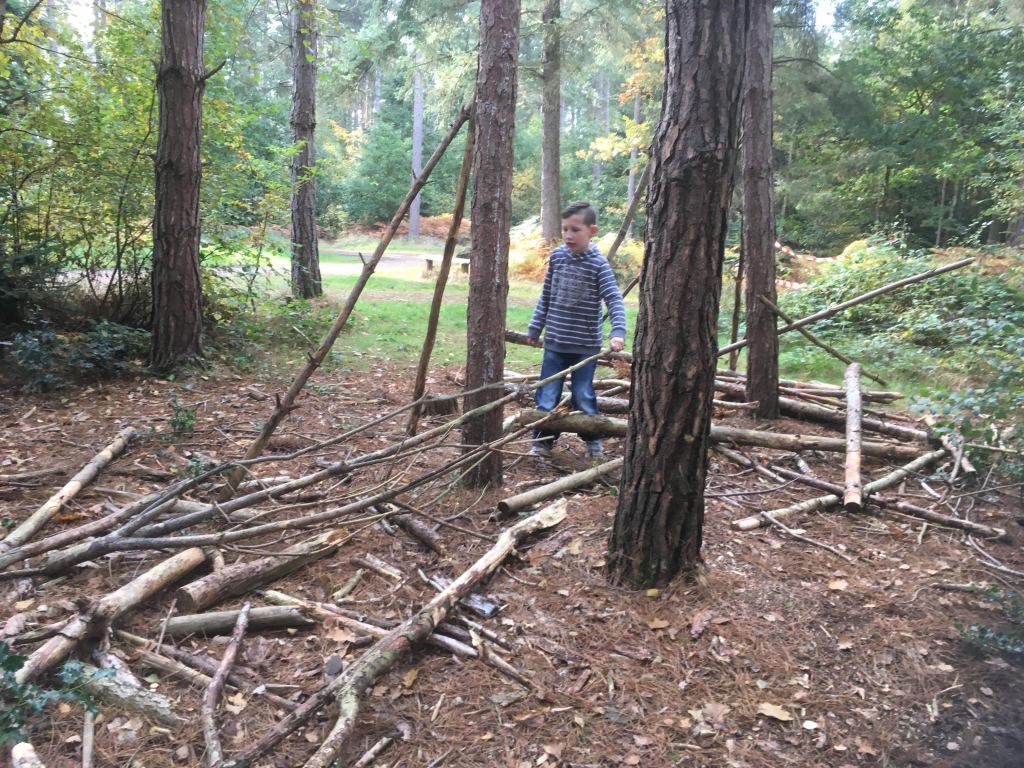
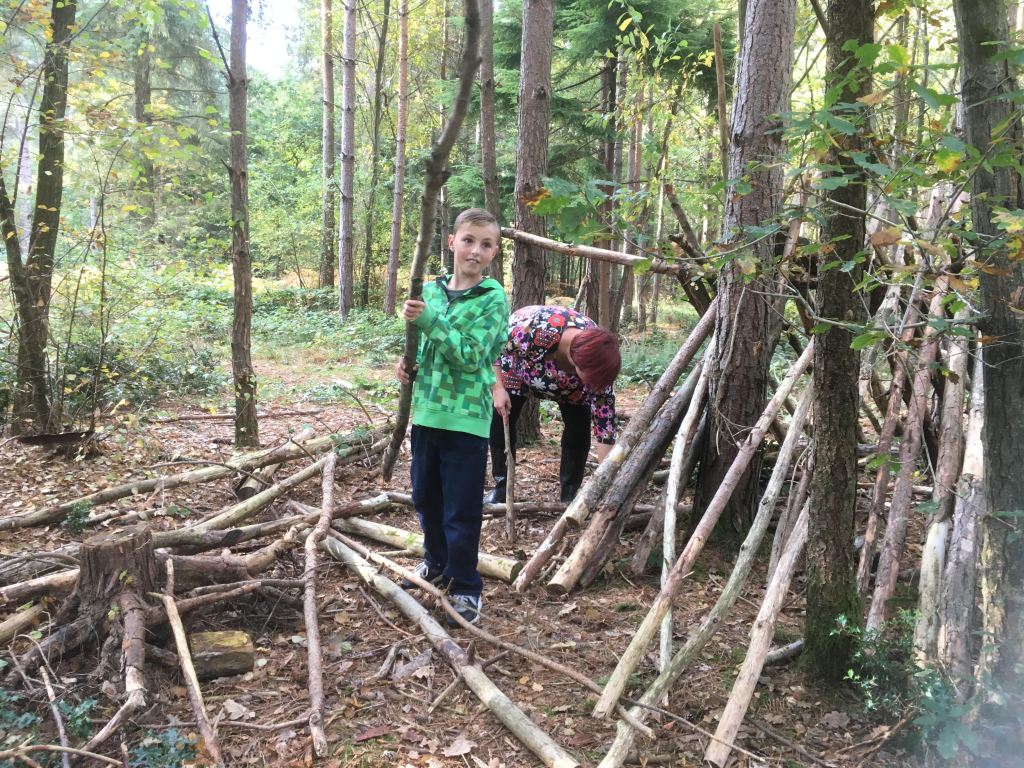
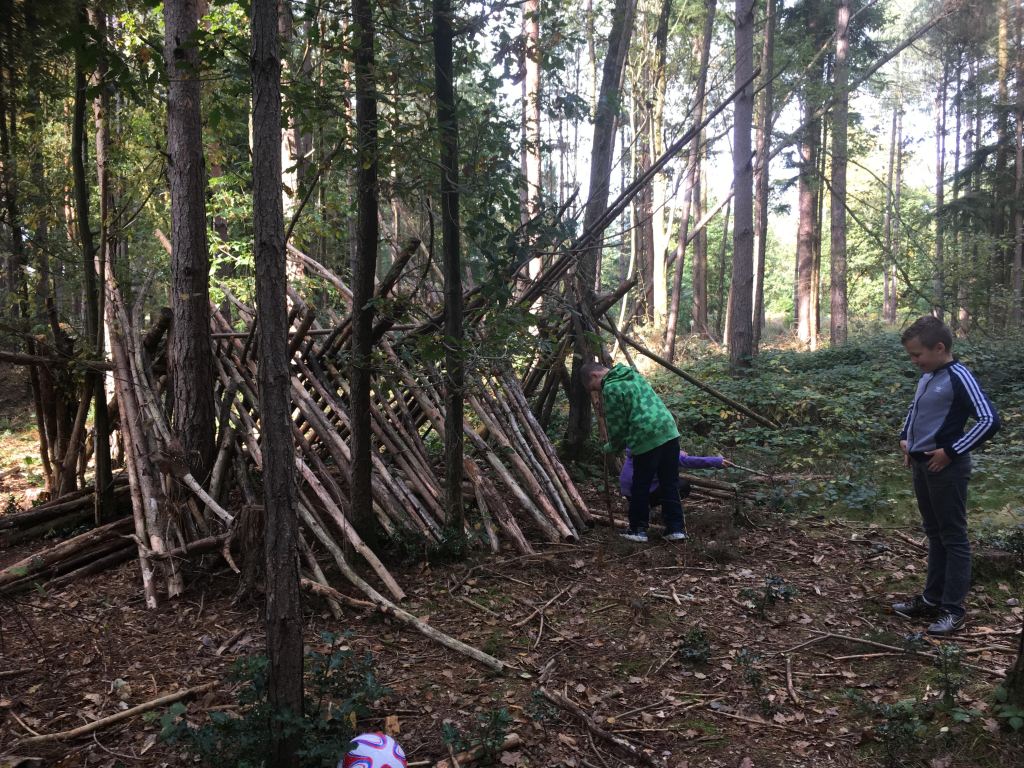
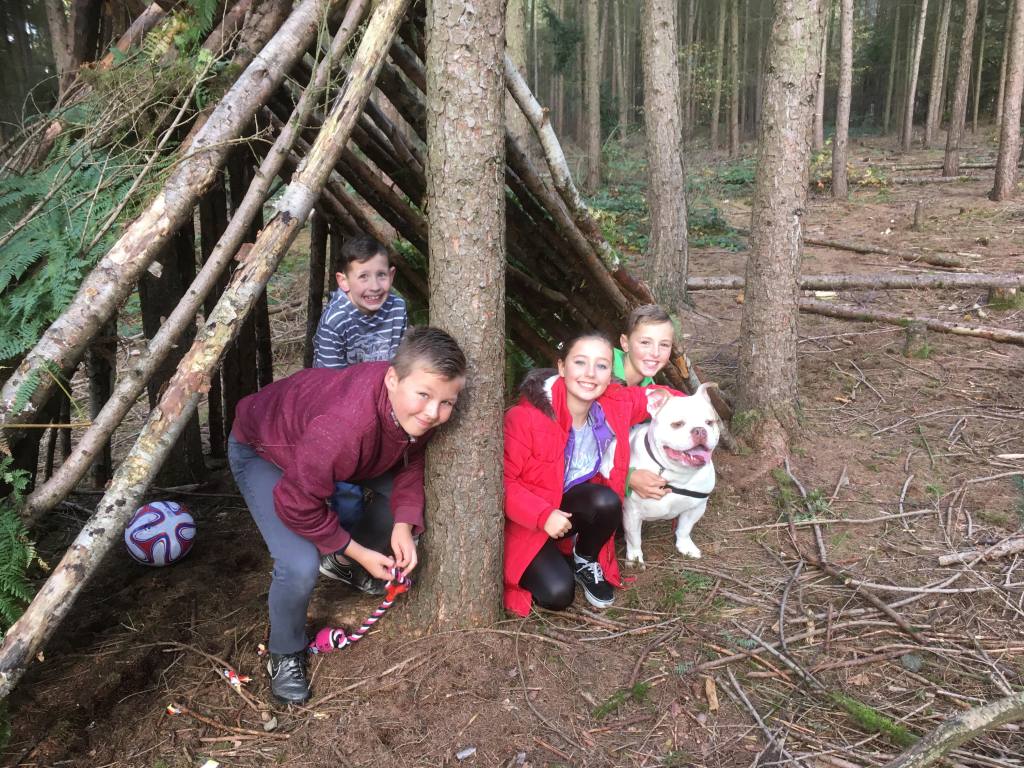
At the end of the session, both shelters should be carefully dismantled. All ropes, tarps and equipment should be removed, while natural materials should be spread back across the woodland floor. This follows the Forest School principle of leaving the site as close to its natural condition as possible, ensuring the woodland remains healthy for future sessions and for the wildlife that depends upon it.

 Forest Footsteps
Leave a comment