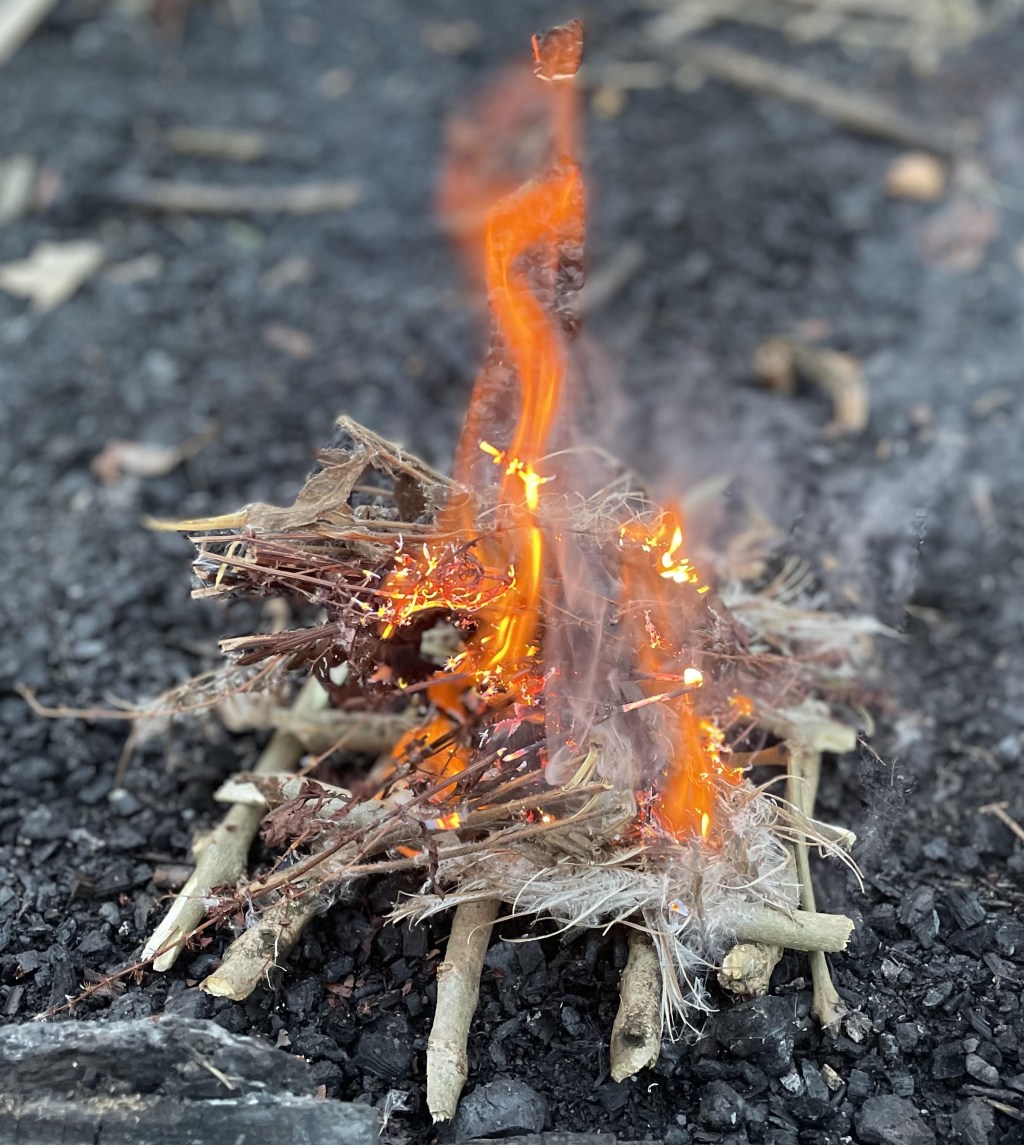
Lighting a fire
The Fire Triangle
The fire triangle is a simple way of explaining the three elements needed for a fire to start and continue burning. These three elements are heat, fuel and oxygen. If any one of these elements is removed, the fire go out.
Heat – Heat is the energy required to start and maintain combustion. A fire needs enough heat to raise the fuel to its ignition temperature. In a Forest School setting, a fire steel (ferro rod) is used when lighting the fire. Once the fire is established, the burning fuel provides the heat needed to continue the combustion process.
Fuel – Fuel is any material that can burn and provide energy for the fire. In a Forest School setting, this may include natural materials such as dry sticks, kindling and logs. The quality of the fuel is important; dry wood burns more effectively than damp wood, which creates more smoke and is harder to ignite.
Oxygen – Oxygen is needed to allow the fire to burn. A fire requires a constant supply of oxygen to maintain combustion. This is why fires need to be built in a way that allows airflow between the fuel, such as leaving gaps between sticks when building a fire structure.
If a fire is covered or packed too tightly, the oxygen supply is reduced and the fire will begin to die down. This principle can also be used when extinguishing a fire by removing oxygen, for example by covering small embers with soil or ensuring the fire is fully drowned with water.
Tinder
Tinder is the first fuel used to start a fire. It consists of small, (up to matchstick thickness) very dry materials that ignite easily from a spark, match or lighter and burn long enough to light the kindling. Good-quality tinder should be completely dry, lightweight and have a large surface area to catch the flame quickly.
Natural examples of tinder include dry grasses, birch bark, bracken and dry leaves and small strips of wood. Artificial tinder, such as cotton wool can also be used.
When teaching students at Forest School, I would encourage students to identify suitable natural tinder and discuss why it is effective. This helps them understand the importance of using dry materials and selecting resources responsibly without damaging the woodland environment.
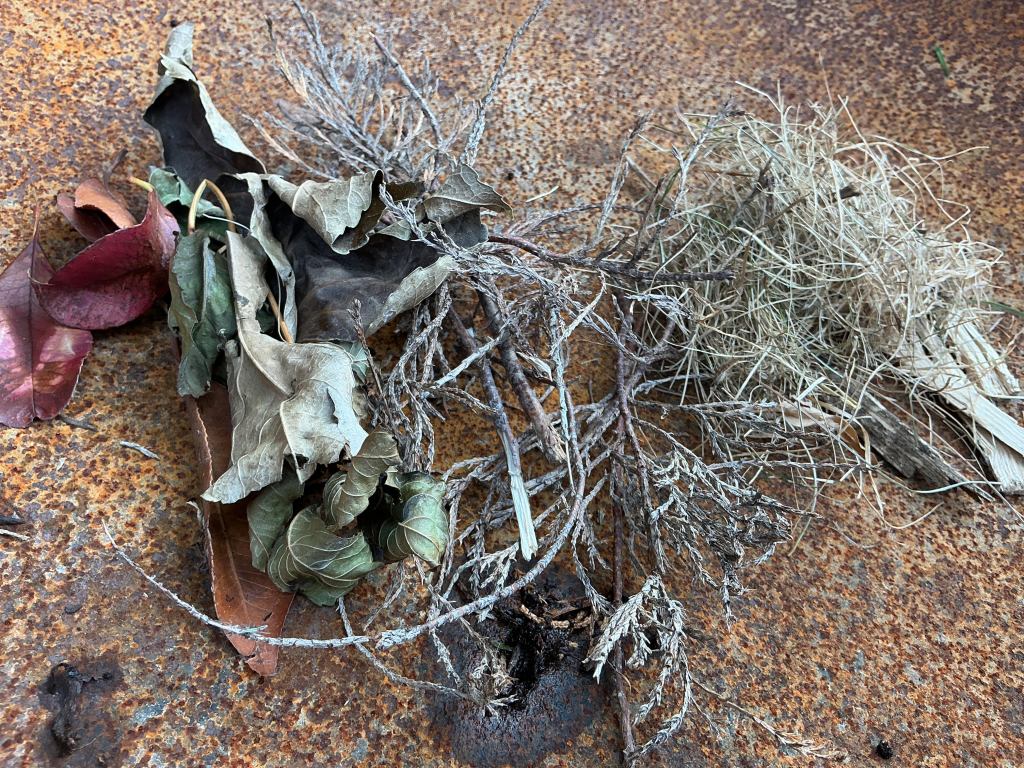
Kindling
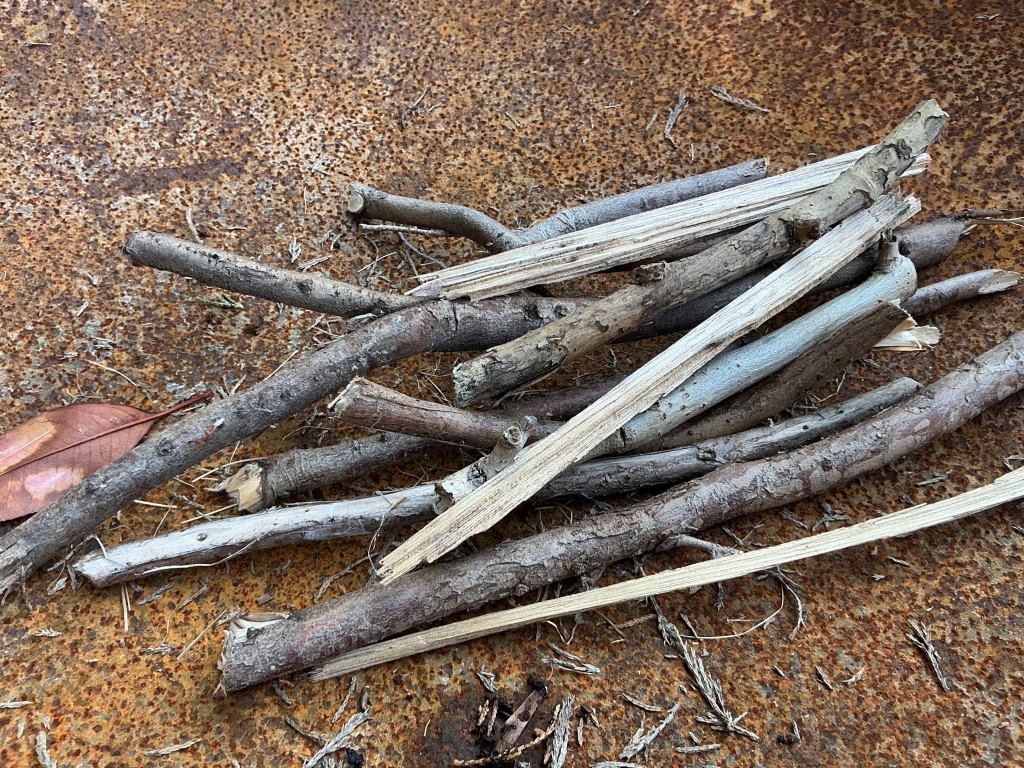
Kindling is the small pieces of wood that are ignited by the tinder. Its purpose is to catch fire easily from the burning tinder and produce enough heat to ignite the larger pieces of fuel. Kindling should be dry, clean and no thicker than a finger so that it burns quickly and efficiently.
Suitable kindling includes small twigs, split sticks and thin pieces of dry wood. The kindling should be arranged with gaps between the pieces to allow oxygen to circulate, helping the fire to burn steadily. If too much kindling is added at once, or it is packed too tightly, the fire may struggle to establish because there is insufficient airflow.
Students can learn to recognise suitable kindling by comparing different sizes and conditions of wood. They can also be taught about standing deadwood, looking for snagged dead branches that are still attached to trees, as these are often much drier than wood lying on the woodland floor. Students can discuss which branches are an appropriate thickness for kindling while learning to collect only dead material and to do so responsibly without damaging living trees or their habitats.
Fuel
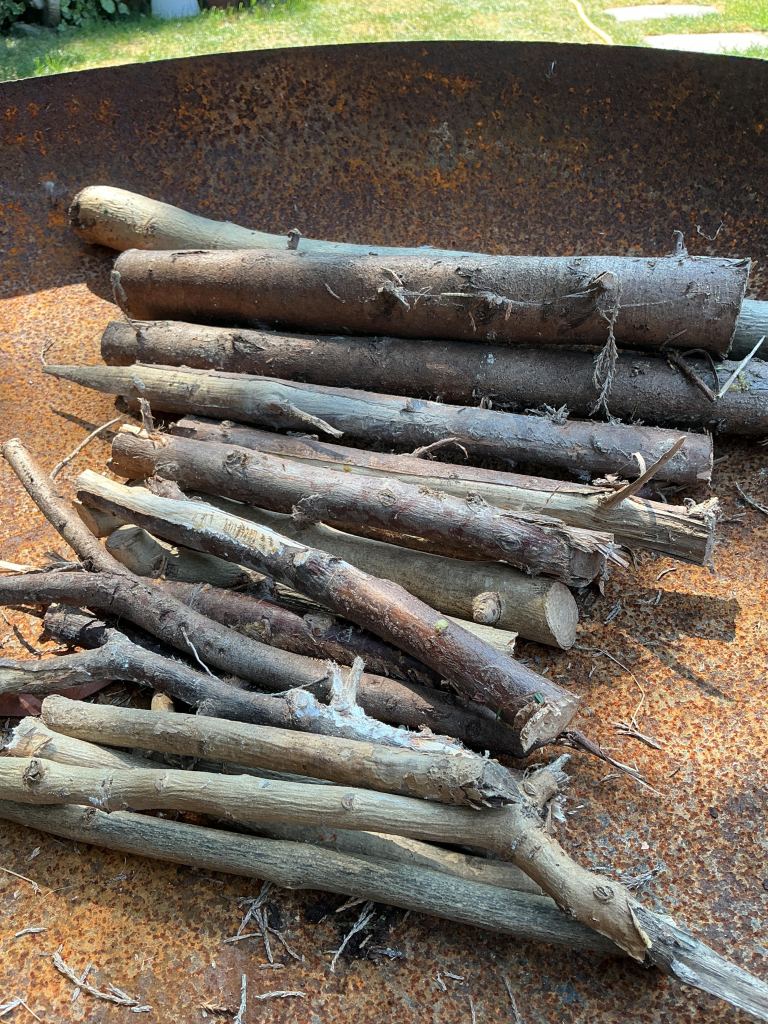
Fuel is the larger wood that is added once the kindling is burning well. Its purpose is to produce a steady, sustained fire that provides heat for cooking, warmth or other Forest School activities. Fuel should be dry, well-seasoned and of a suitable size for the fire.
The first pieces of fuel added to the fire should be approximately thumb thickness, allowing the fire to grow steadily without smothering the flames. As the fire becomes established, progressively larger pieces of wood can be added. In Forest School, logs should generally be no thicker than an adult’s wrist, providing enough heat while keeping the fire small, manageable and easy to control.
Students can learn to identify suitable fuel by comparing different sizes, types and conditions of wood.
How to Identify Dry Standing Deadwood
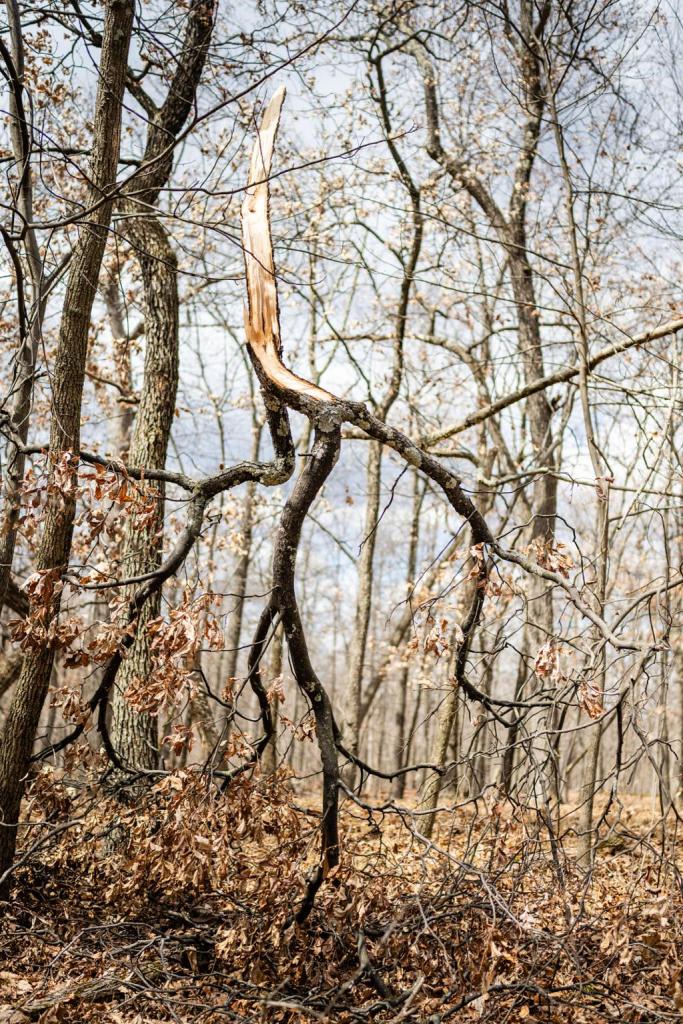
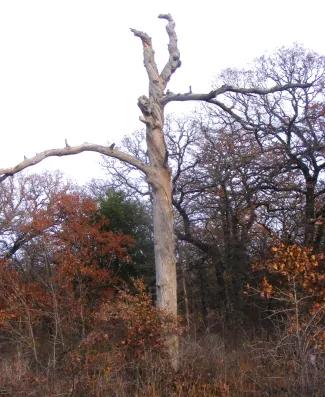
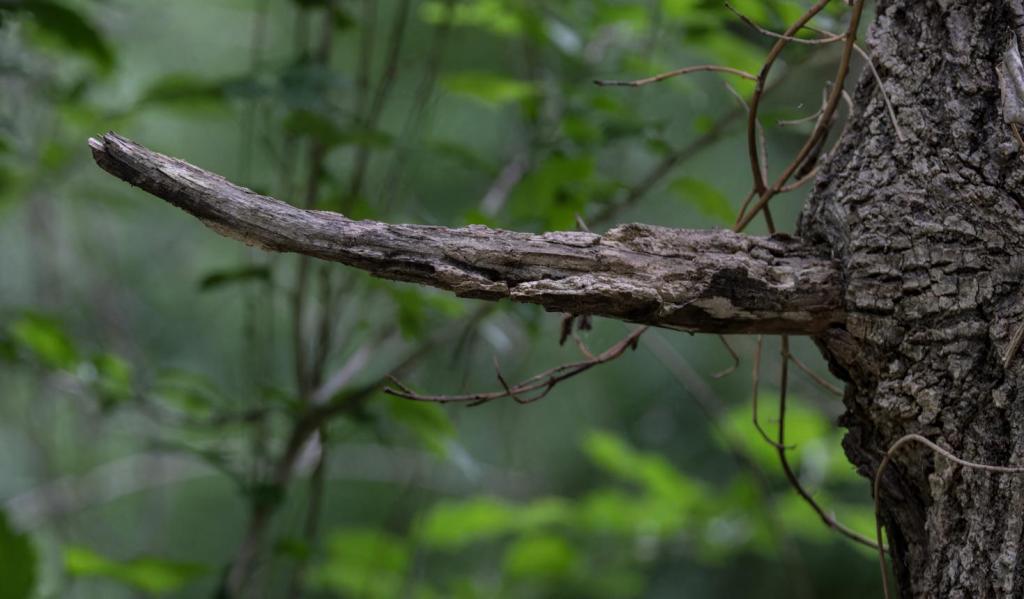
Dry standing deadwood is wood that has died but remains attached to a tree rather than lying on the ground. Because it is raised off the ground, it is usually drier and makes better fuel for a campfire.
Signs that standing deadwood is suitable include:
- The branch has no leaves or buds, indicating it is no longer living.
- The wood feels dry and lightweight rather than damp or heavy.
- The bark may be loose, peeling or missing.
- Small twigs will often snap cleanly with a sharp crack rather than bend.
- The wood is usually a grey or weathered brown colour.
Students should be taught to collect only small pieces of standing deadwood that can be reached safely from the ground. They should never climb dead trees, break living branches or remove deadwood that is being used as a wildlife habitat.
How to identify punk
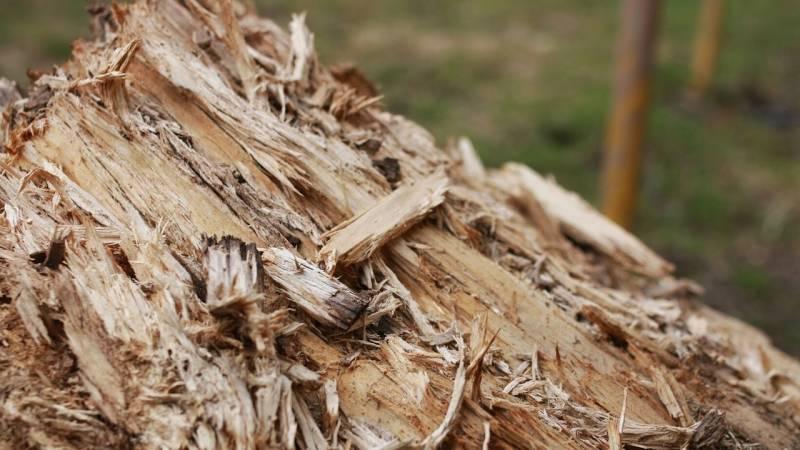
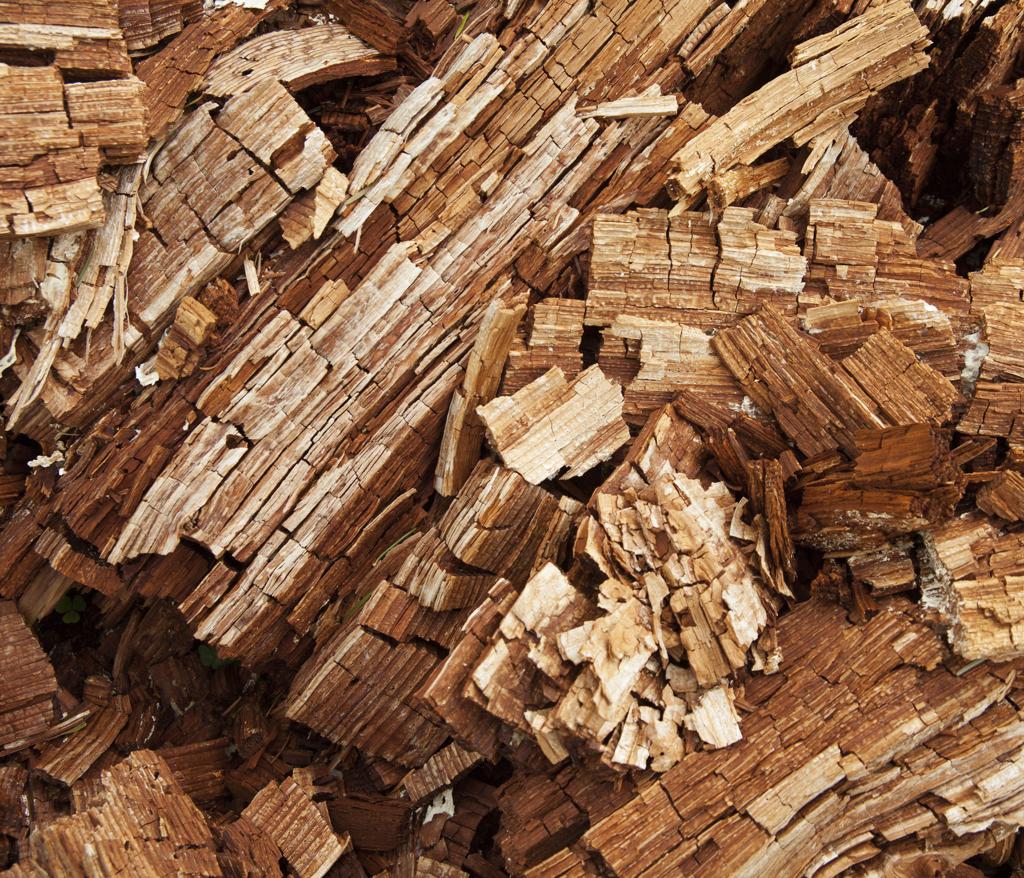
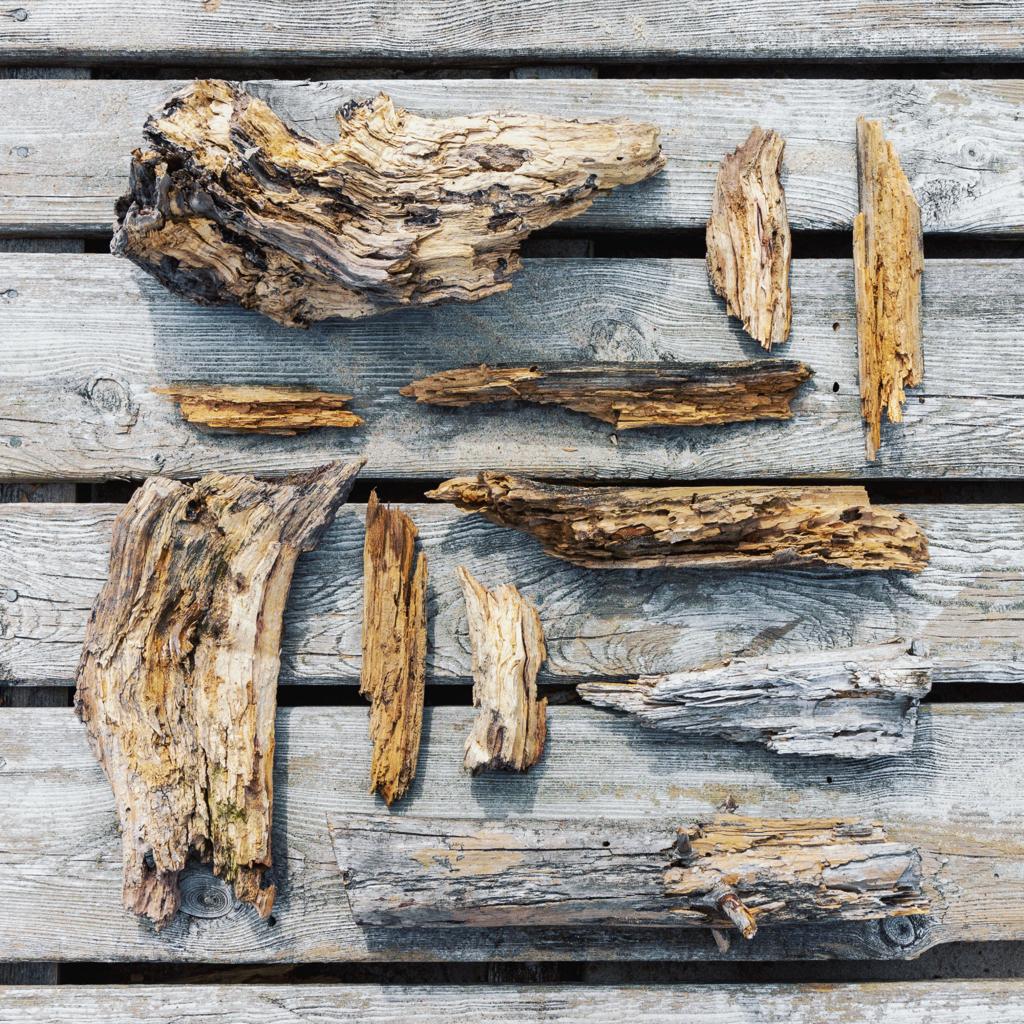
Punk wood (or punky wood) is wood in the early stages of fungal decay. It has lost much of its structural strength and becomes soft, spongy, porous and crumbly.
Dry punk wood can be useful when using traditional fire-lighting methods, such as flint and steel, because it catches a spark easily and produces a slow-burning ember rather than an open flame. Punk wood can be identified by the following characteristics:
- It feels soft, lightweight and spongy (similar to styrofoam)
- It can be crumbled or broken apart easily by hand.
- It is porous and often has a fibrous texture.
- It may be discoloured by fungal decay.
- When dry, it will smoulder rather than burn with a strong flame.
Dry punk wood is particularly useful when introducing traditional fire-lighting techniques to new students because it catches a spark easily and forms a slow-burning ember rather than bursting into flame. This gives students more time to transfer the glowing ember into a tinder bundle.
Types of fungi that can be of use
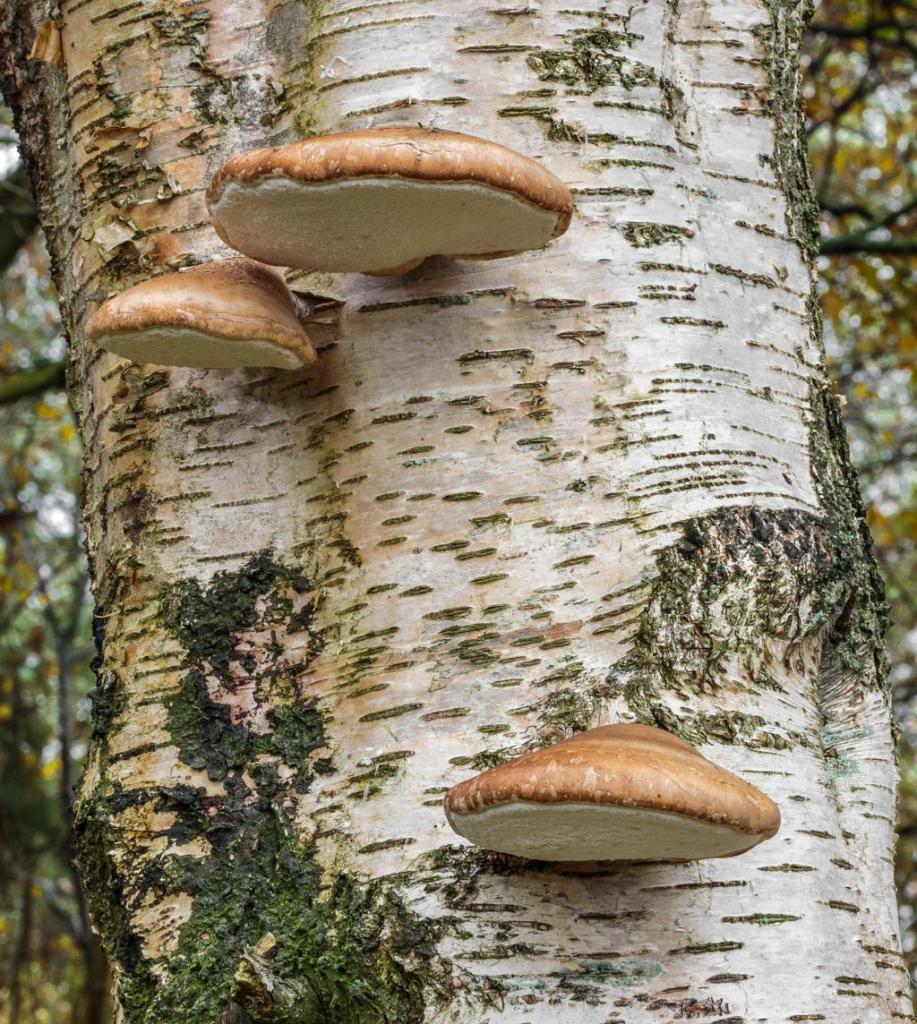
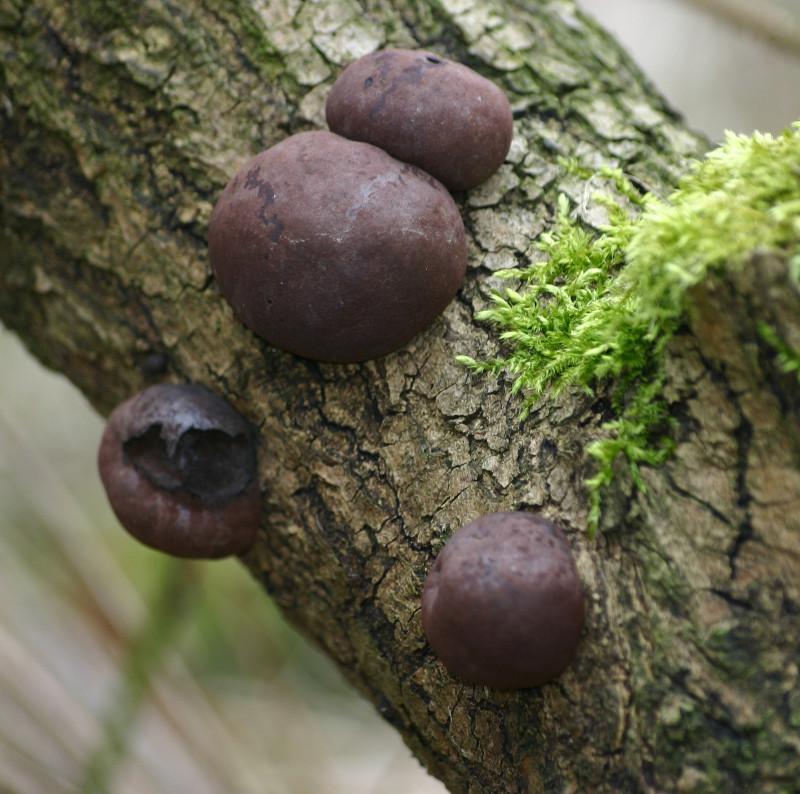
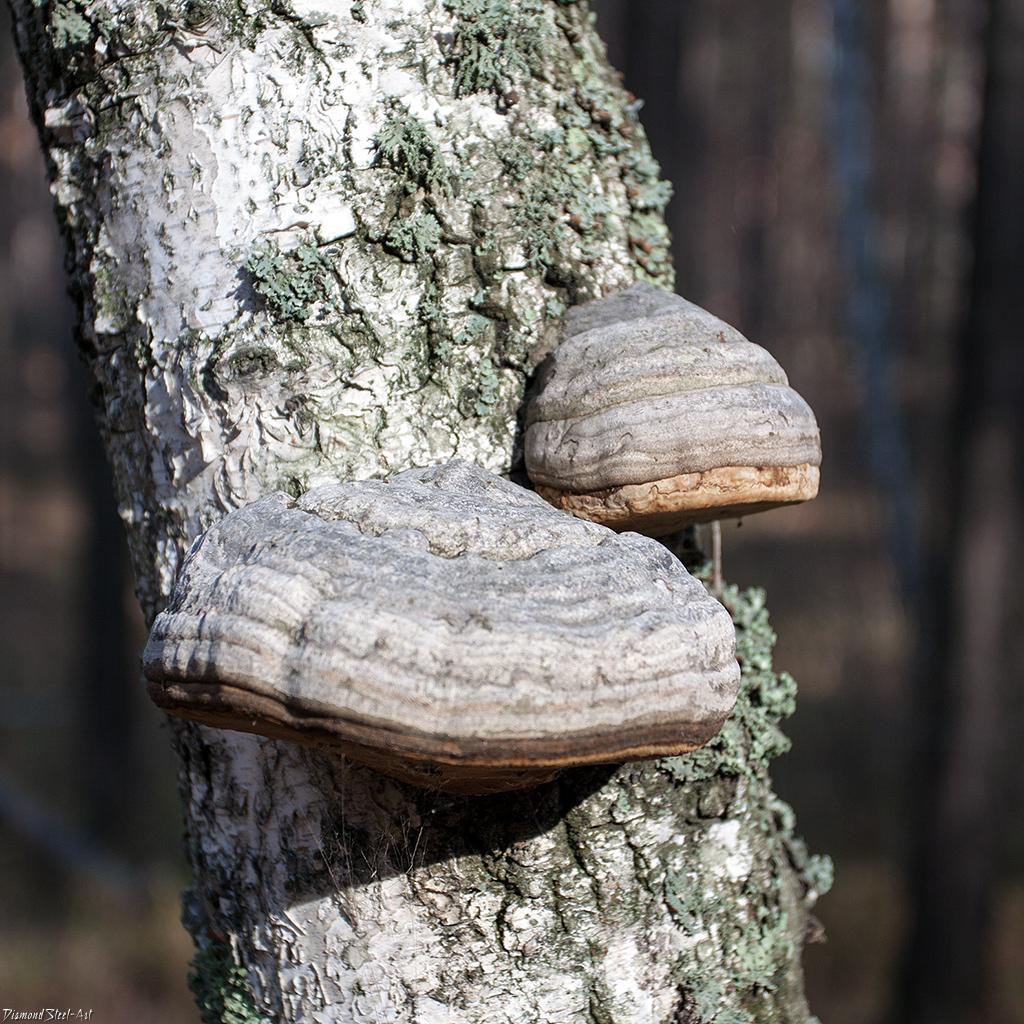
Several woodland fungi can be used when teaching natural fire-lighting techniques.
Tinder Fungus (Hoof Fungus) – Fomes fomentarius
This hard, hoof-shaped fungus grows mainly on dead or dying birch and beech trees. Once dried, they can catch a spark catches a spark and burn as a slow, glowing ember.
King Alfred’s Cakes (Cramp Balls) – Daldinia concentrica
These hard, black, round fungi grow on dead ash trees. When dry, they can catch a spark and smoulder for a long time without producing a flame. They have traditionally been used to carry fire from one location to another.
Birch Polypore – Fomitopsis betulina
This fungus grows on birch trees. Thin, dried pieces can be used as tinder because they ignite easily.
What can be done if resources aren’t available
Natural resources are not always available or suitable for fire lighting. Weather conditions may mean that dry tinder, kindling or suitable fuel cannot be found. Alternative options include:
- Carrying cotton wool, or commercial natural firelighters as emergency tinder.
- Storing dry tinder and kindling in waterproof containers ready for use.
- Delaying or cancelling the fire activity if conditions are unsafe due to prolonged wet weather or strong winds.
Students can also use these situations as learning opportunities by discussing why suitable materials are unavailable and exploring alternative methods of fire lighting.
 Forest Footsteps
Leave a comment