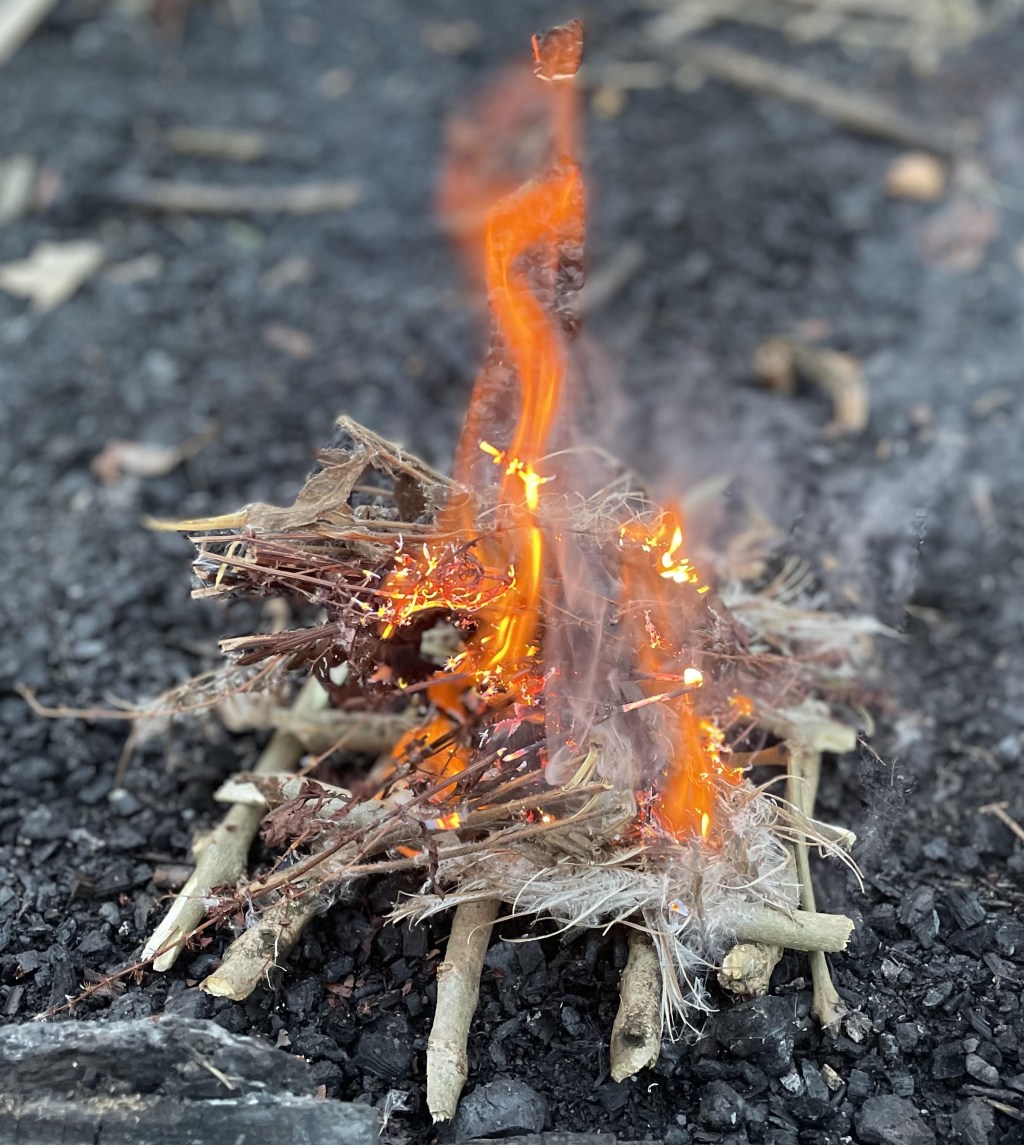
Fire lighting equipment and procedures for use:
Quick Methods
Preparation of Materials – Before lighting the fire, enough suitable resources should be prepared. You do not want to leave your fire to get more:
- Tinder – materials that catch a spark easily, such as teased cotton wool, dry birch bark, dry grass or prepared tinder fungus. Up to matchstick thickness.
- Kindling – small dry sticks around finger thickness
- Fuel – larger dry sticks from thumb thickness, up to approximately wrist thickness to maintain the fire once established.
- Ignition source – a fire steel, matches or lighter.
Building the Fire Lay – A common quick method is using a waffle and tipi fire lay.
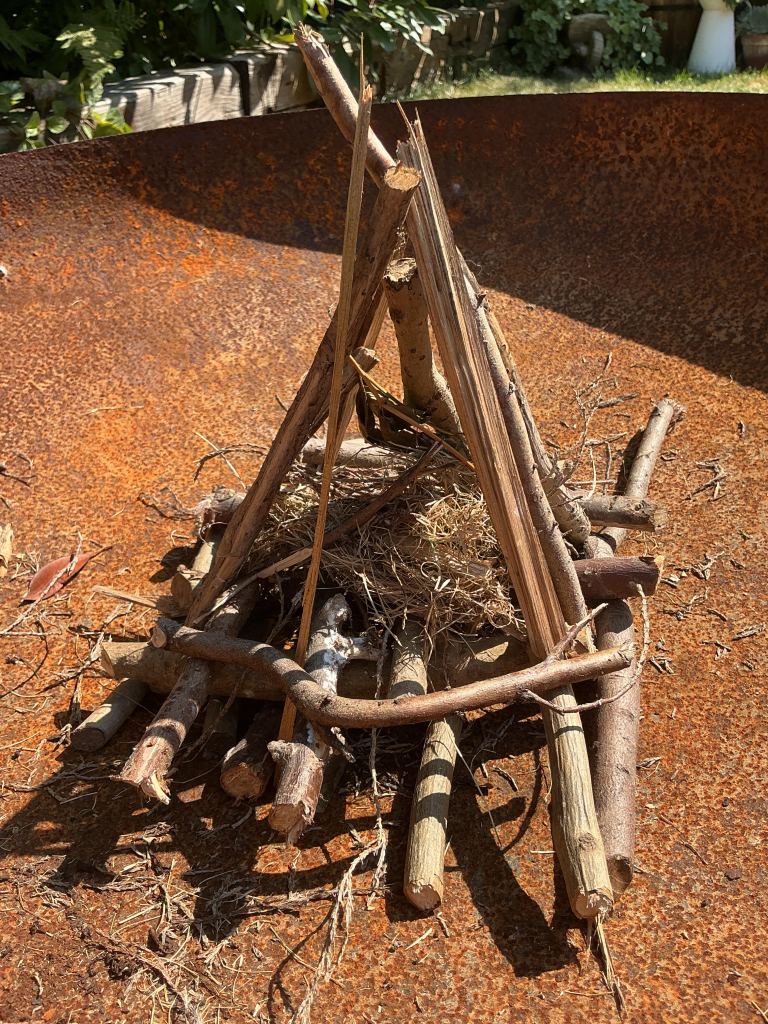
A small waffle base can be created using thumb-thickness sticks. This raises the tinder from the damp ground and allows oxygen to flow underneath the fire. The tinder is placed in the centre, and small kindling sticks are arranged around it in a tipi shape. The structure should have gaps to allow airflow and provide enough space for the flame to grow.
Lighting the Fire – Using a fire steel, a spark is directed onto the prepared tinder. Once the tinder catches, the flame is allowed to develop before gradually adding larger pieces of kindling.
Fuel is added progressively, starting with smaller pieces and increasing in size as the fire becomes established. Adding too much wood too quickly can reduce airflow and extinguish the flame.
With my SEN students, I would teach this through demonstration, repetition and clear roles. Students can explore the different stages of fire building by identifying tinder, kindling and fuel before supporting with safe tasks such as collecting materials, preparing the fire lay and observing how airflow affects the fire.
Magnesium Blocks or Strikers
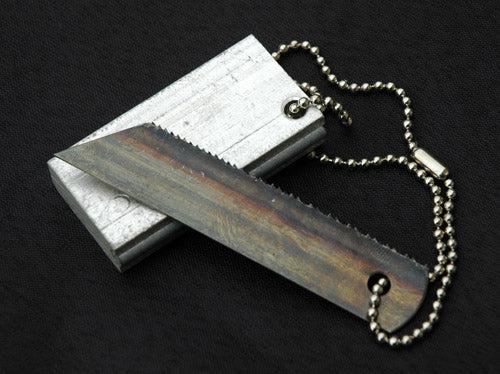
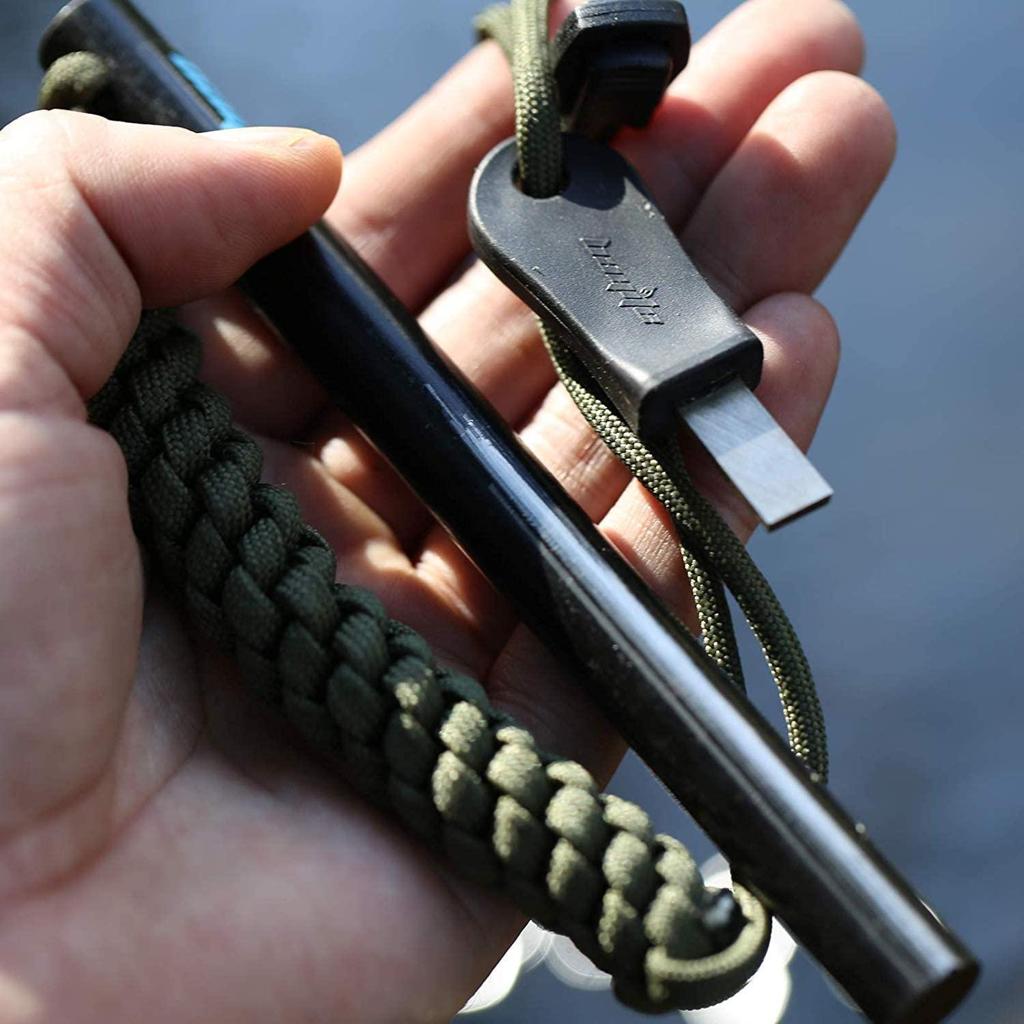
Magnesium blocks and strikers are fire-lighting tools. They work by creating a high-temperature spark that can ignite suitable tinder.
A fire striker (ferro rod or fire steel) produces hot sparks when the striker is scraped firmly along the rod. These sparks can be directed onto dry tinder to create an ember and start the fire.
A magnesium block combines a fire striker with a small piece of magnesium. Small shavings of magnesium can be scraped from the block and added to tinder. When ignited by a spark, magnesium burns at a very high temperature, helping to ignite materials that may otherwise be difficult to light.
When teaching my students, I would demonstrate how the tool works first. Students would learn that the striker itself does not create a fire on its own; success depends on having suitable dry tinder, good airflow and the correct fire structure.
Natural Resource Methods – Bow Drills
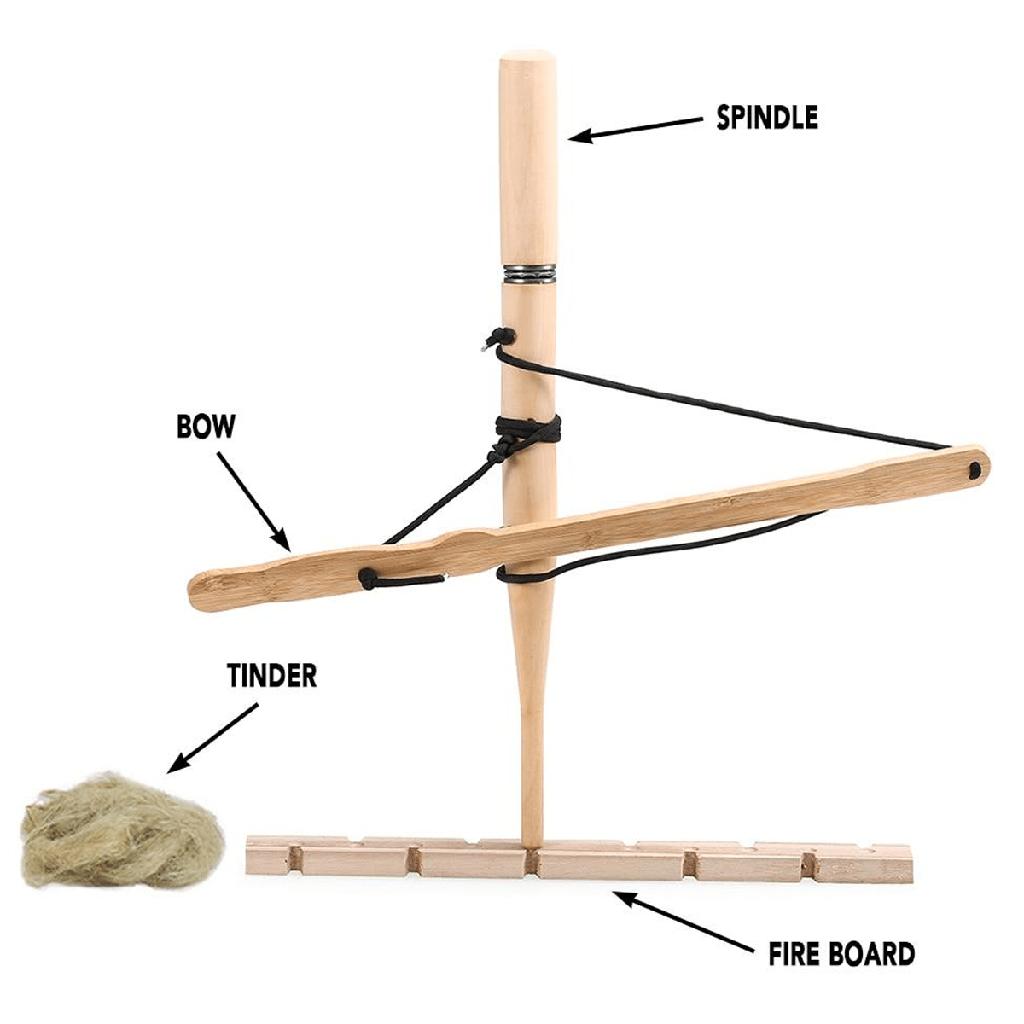
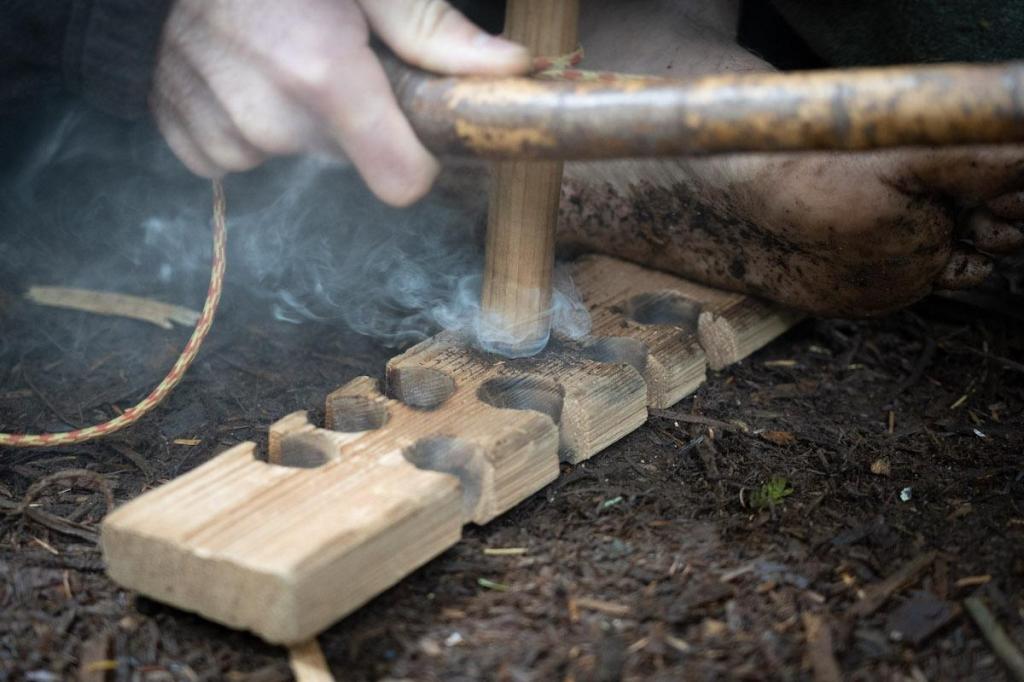
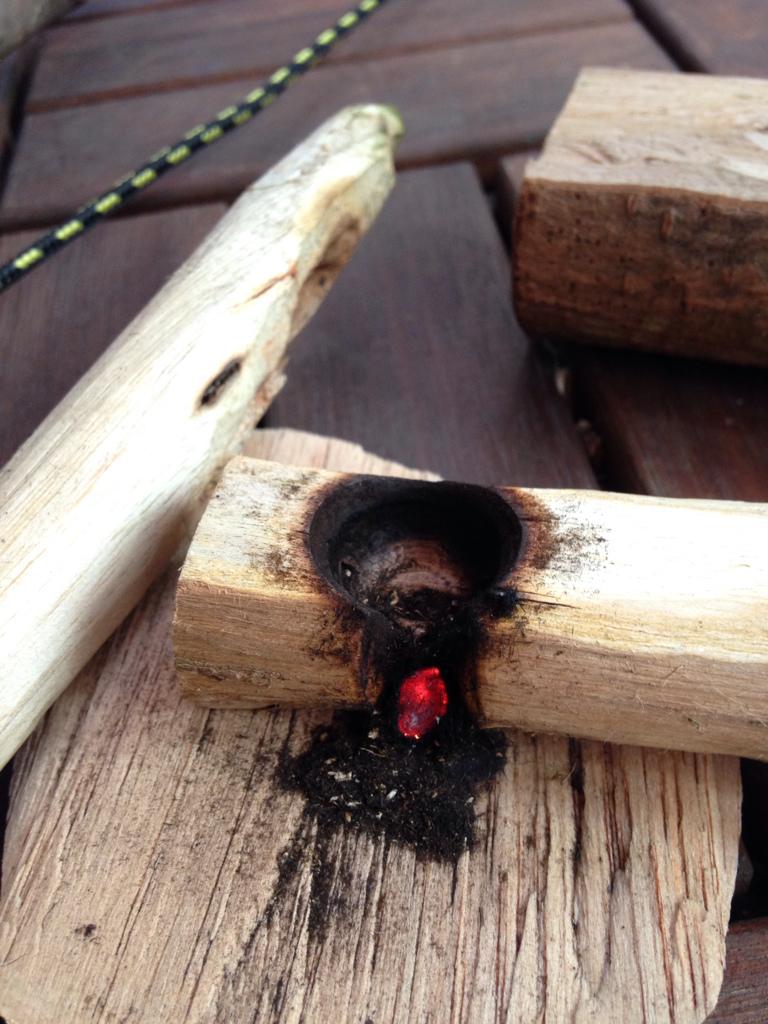
A bow drill is a traditional method of creating fire using natural materials and friction. This is an advanced method – the one you see on all the survival programs!!! It works by creating enough heat through friction between two pieces of wood to produce a small glowing ember, which can then be transferred into a tinder bundle.
A basic bow drill set consists of:
- Bow – a curved stick with a cord attached, used to rotate the spindle.
- String/cord – traditionally made from natural fibres but often replaced with strong cord for reliability.
- Spindle – a straight, dry piece of wood that rotates against the hearth board.
- Hearth board – a flat piece of soft, dry wood where the ember is created.
- Bearing block – held at the top of the spindle to apply pressure while allowing it to rotate.
Suitable natural woods for bow drills include softer woods such as willow, poplar or sycamore, which allow friction to build more easily.
When the bow is moved backwards and forwards, the spindle spins rapidly against the hearth board, creating heat and producing a small pile of dark wood dust. With enough friction, this dust forms a glowing ember. The ember is then carefully placed into a prepared tinder bundle and gently blown until a flame develops.
Char Cloth
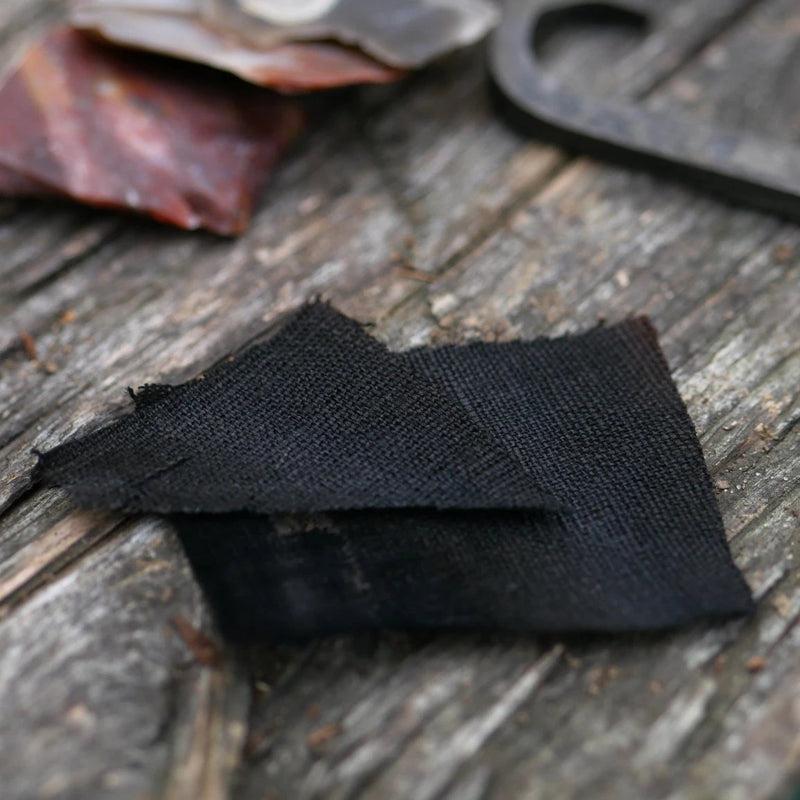
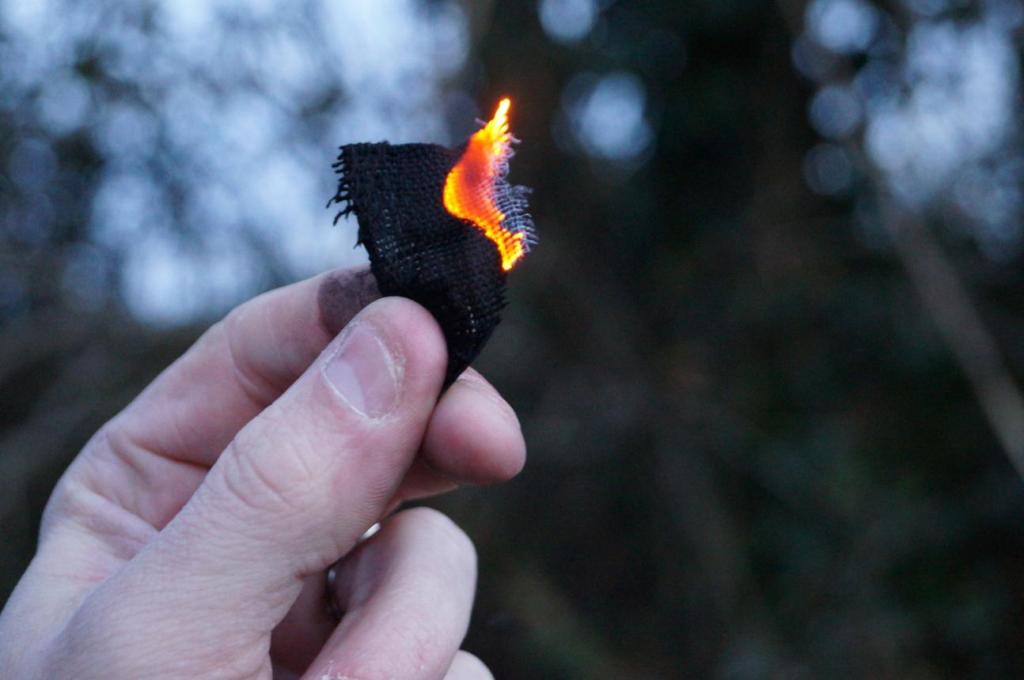
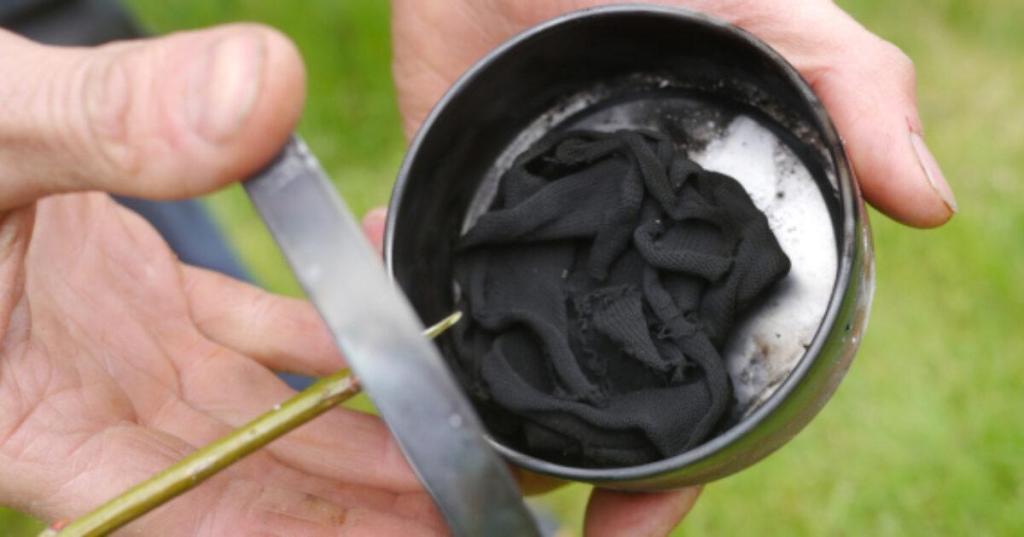
Char cloth is a natural tinder made by heating cotton fabric in a low-oxygen environment until it becomes carbonised. The process removes gases and moisture from the material, creating a lightweight piece of cloth that catches a spark easily and holds an ember for a long period.
When a spark lands on the char cloth, it begins to glow rather than producing an immediate flame. This glowing ember can then be transferred into a prepared tinder bundle and gently blown until a flame develops.
The qualities that make char cloth useful include:
- It catches very small sparks easily.
- It holds an ember for a long time, giving more time to develop a flame.
- It is lightweight and easy to store in a waterproof container.
- It can be made from recycled natural materials such as cotton cloth.

 Forest Footsteps
Leave a comment